Writing this exactly 3 months since the last 240 blog post. Last thing I wrote about was the bay getting painted and bringing the car back home. Since then I began putting the engine together finally. It took me just slightly over a month to do. I didn’t work on it everyday and tried to take it slow to avoid unnecessary mistakes… yet I still made a few haha.
I took the block and all the parts to my buddy’s garage close to me so I can work somewhere clean and indoors. The amount of bits and pieces it takes to build an engine is astounding, I feel like I forgot how much stuff I took off when I stripped this block bare.


All these boxes to build just one engine. I took a day to try and tried to organize the stuff as much as possible, getting everything laid out from bottom to top in order of installation.


I had the valves and springs installed the day before at the machine shop, it’s funny how machine shops look here compared to the clean and meticulous machine shops most people are used to. But hay as long as they get the job done!


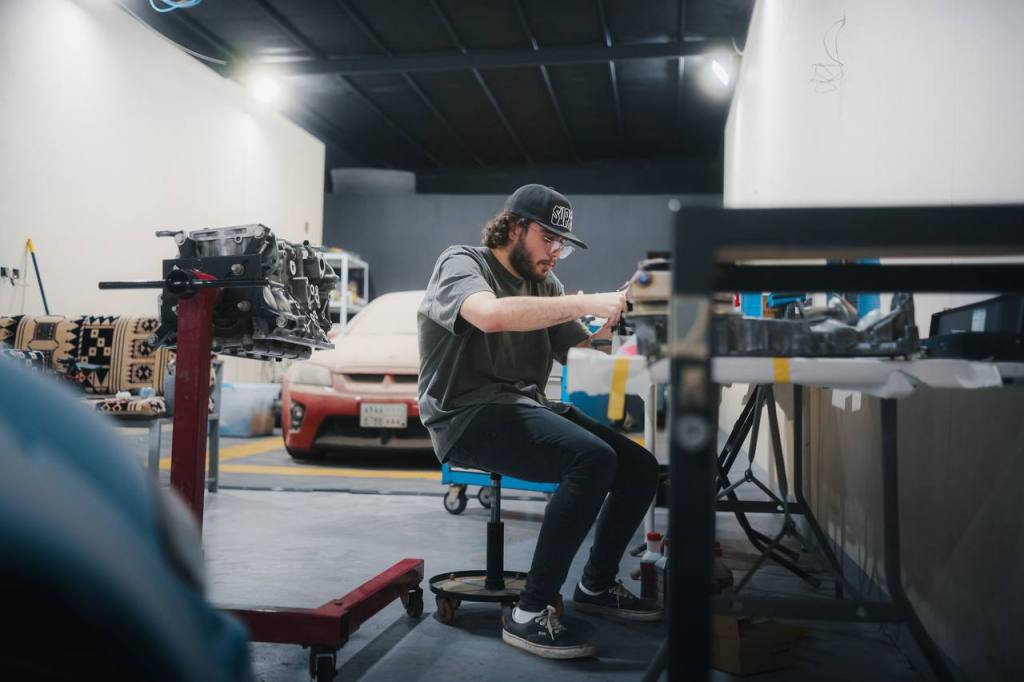
The build began with checking the bearing clearances before assembly. Starting with the crank, this is my first time ever putting together a block, so it’s safe to say I was pretty god damn nervous. Knowing that SRs are made of aluminum, and that stripping a bolt is a real possibility gave me the jitters.


I didn’t take too many pictures of these steps as I was more focused on the work, we did however take a time lapse video of the process.
For the people interested in the technical details, I had the machine shop do 0.35mm on the main bearings, and 0.50mm on the rods. These specs are over the normal oem specified range, but less than the limit. Which I felt is a safe in between.
I’m not knowledgeable on engine builds, but I tried to read and ask as many people as I could and I felt these would be safe numbers to go with for my power and longevity goals. Too loose and the engine wouldn’t last as long, too tight and it wouldn’t last under harsh abuse.
The machine shop thankfully did a fantastic job as everything came out dead even. Which was a huge relief as I didn’t not want to make the trip across the border again lol.
The following days I started with the final assembly of the block, the crank went in pretty smoothly, lots of assembly lube and high tensions while torquing the main bolts for the second time. The oem process for these is a bit uncomfortable since it’s based on angle instead of a torque figure. But we didn’t run into any problems thankfully.

After that I began assembling the pistons, which was one hella long whole ordeal. I had to take a few days to research the amount of ring gap I wanted because I hadn’t thought about it until then. Plus it happened to coincide Japan’s golden week holiday which meant getting an answer from Tomei Japan would take longer than normal.
The instructions in the Tomei piston set I got weren’t as detailed as some of the other piston manufacturers, they unfortunately don’t include a formula to measure the required gap depending on bore/application. But instead a very broad range.
The range set by Tomei is 0.15mm to 0.35mm for the top ring AND the second ring, which upon research I found was pretty uncommon.

Most modern pistons lean towards having a larger second ring gap to get any blow by that goes past the top ring into the crank case. Having gases stuck between the rings could case a lot more damage than having slightly more blow by from my understanding.
Most modern forged pistons require very large ring gaps to account for the expansion under heat, Tomei pistons don’t require as much as they expand at a lesser rate. Although I trust Tomei to know their product, I decided to go on the safe (bigger) side and gap my rings slightly larger than they specify. As the down sides of having a wide ring gap is a lot less catastrophic than a tight one.
So, after much consideration I decided to go with a gap of 0.38mm for the top rings, and 0.43mm for the second ring. The oil rings I left as is as they seemed too thin to file without risking them getting damaged. All rings measured out at 0.23mm out of the box which was a great sign at how well the block was machined.
Gapping the rings was a long but enjoyable process I found, installing the C clips however wasn’t, that alone was another 3 hours or so of fighting with them. The first one was the hardest but once I figured the technique out they started going in one by one.


Putting the rings onto the pistons and positioning them was next, and then using a ring compressor to get the pistons into the block.
From here on I didn’t take too many photos of the process, with the pistons/rods in it was time to start putting everything else on. Starting with the oil pump, upper oil pan, and then the head. By the time I was done with all these I was pretty exhausted and to be honest, I should have done most of that work another day. Because later that day I realized I made a tiny mistake that kept me up all night.
When putting the oil pump/cover on and sealing it using liquid gasket maker, you’re supposed to avoid putting in any gasket maker around the oil feed. This is noted in the factory manual but unfortunately… not very well emphasized.

I did exactly what it says never to do, and this kept me up all night. If any gasket maker gets into the oil feed it could cause some oil pressure problems or worse… and by that point the head was already torqued on which was not a fun process.
Unfortunately my overthinking got the best of me, and so a few days later after cooling down a bit, I ended up taking it all apart again. The head, upper pan, and oil pump. Only to find that this is what it looked like:

The O ring was able to stop any gasket maker from entering the oil gallery. It was close but it wasn’t enough to cause any damage. Although it was kinda annoying to take it all apart to find out it was unnecessary, I’ll take it as a learning experience to A: stop overthinking it. And B: learn how to a take a SR head off and back on my own.
I don’t plan on doing it often but hopefully I’ll be good at doing it whenever necessary.
Once I was relieved I didn’t make a mistake, I started putting everything back together. Took me another few hours and almost stripping one of the oil pump bolts… but I managed. With the head on, it was time to get the valve train setup. That means checking the shim height for the rockers. I got myself a bunch of guides and extra rockers to do the dual guide conversion to. It went pretty well and was easier than expected. I used a Dremel with a sanding rock bit. And I measured the height with a 3d printed tool using a disassembled lifter so that it fits tight into the head.


Surprisingly, all guides came out within spec right out of the box. Most were around 0.07-0.13mm from side to side. I’m guessing the combination of a new head, new valves, new springs/seats, might be why. But I’m glad I didn’t have to do any exyta work.
I also installed the new Reimax water pump, a Nismo thermostat, and a large capacity Tomei oil pan.


I bought used cams in okay condition to replace the ones that came with my engine, they were okay to use just needed a quick clean up. The ultra sonic cleaner I got took care of it pretty well.


The cams went in along with new oiling tubes. I reused my old VCT gear and solenoid. I hope these last me a bit before having to replace them as those two parts alone are very costly to replace.


The new Fluidampr went on, I bought a new oem one to use but decided to get one of these instead after finding out about the 4cw crank thing. This would add an extra layer of safety to hopefully prolong the life of the main bearings and lessen vibrations.
Lastly I put on a used ORC 409D I got from my friend, it has definitely seen better days but I decided to use it just as a break in clutch setup, and also so I can get an idea of how it feels and sounds before ordering a new one to replace it with. Some people love how noisy these are and some don’t. So I didn’t want to commit to it before hearing how it sounds on this used one.

With that, the long block was done! I covered up the INT/EXT ports and all water and oil in/outlets. Put on the old valve cover with some zipties, and hauled off the engine back home.


We dropped the engine back into the car the same day so I can put the hood back on and protect the engine from the elements. Engine went in pretty smoothly I’d say with no major hiccups.


Felt very surreal to finally have an engine back in the bay, and it looks so good in there. But I couldn’t just end this post with pictures of the old beat up valve cover, so here are some pics of what the finished result should be closer to!


There is still a decent amount of work to be done till I can start this engine up for the first time. But I’m more than halfway through this and I couldn’t be more pumped!!

Leave a comment