Oh boy… This is going to be a good for sure!!!
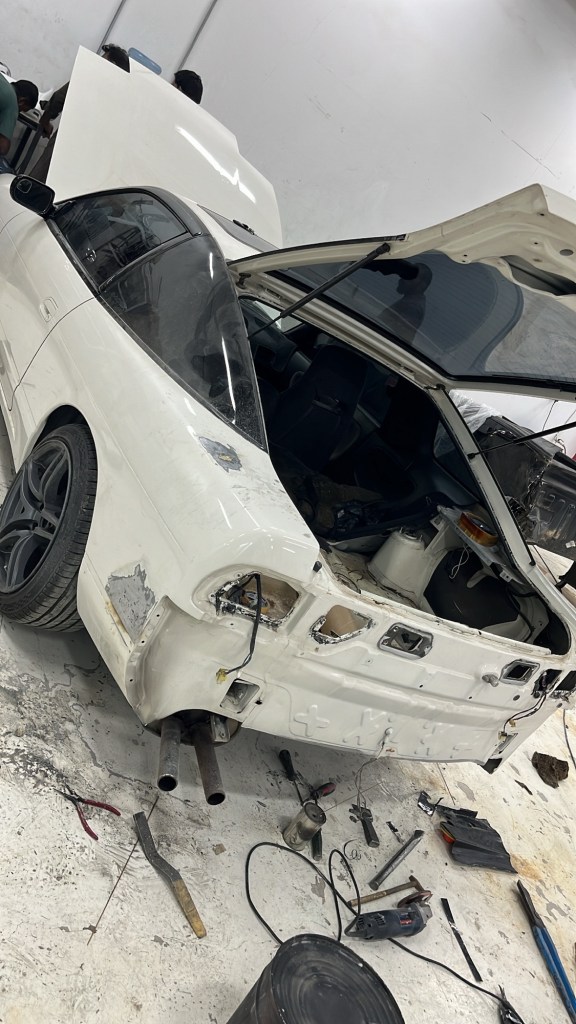
This post will be covering all the body work that happened over the past month or so, with some extra details about the process and what let up to it. So after all the suspension work got buttoned up I was finally able to drop the car off at the body shop at the start of January. I also took all my aero pieces from home and dropped them off too. The car was pretty much a plank slate with nothing on it and was going to look very different by the time it was done. Going to check on the car every couple of days during the last month has been so exciting and rewarding I can’t even describe it.
But enough with the sentimental talk and get into the nitty gritty.
Now my long term goal with this car is to get it as clean and prefect as possible. And that’s a goal I very much want to achieve. But that being said I’m not looking to keep this car undrivble in till I can afford to do such thing. So some compromises had to be done, and a few imperfections will have to be ignored for a little while longer. My plan originally was to fully repaint the car and replace all the wether striping this year (which I already have) but due to budget and time constraints I decided on doing the following:
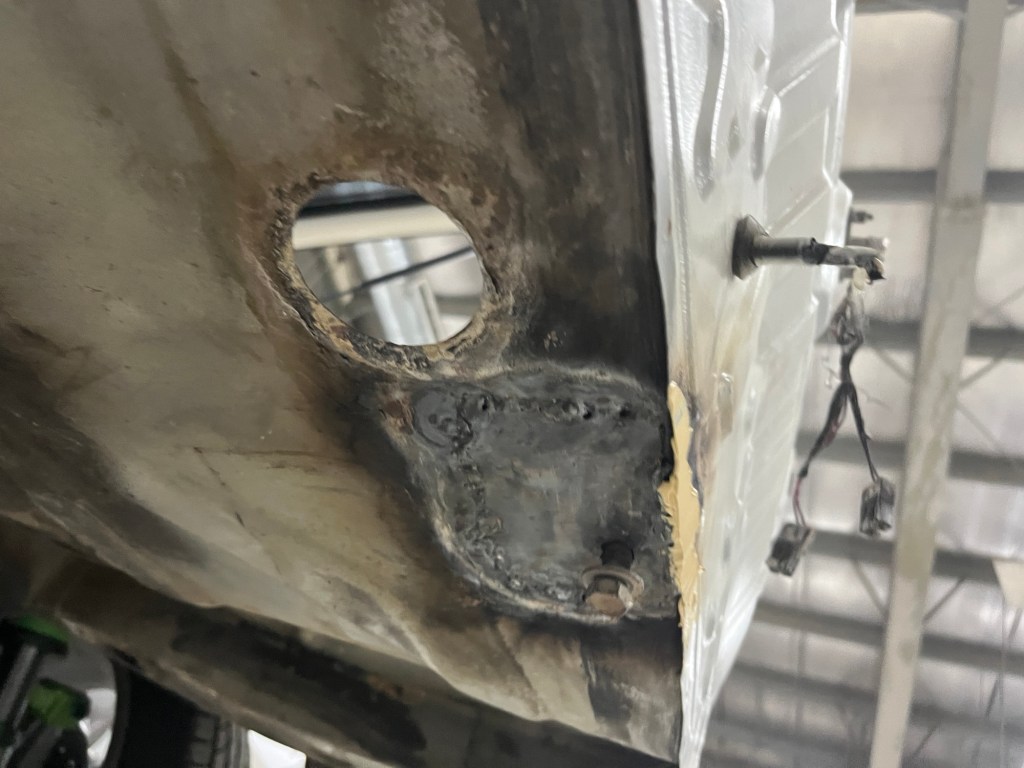
-address the rust that’s been residing in the spare wheel area and rear panel, causing water to come into the trunk.
-Install all the new aero.
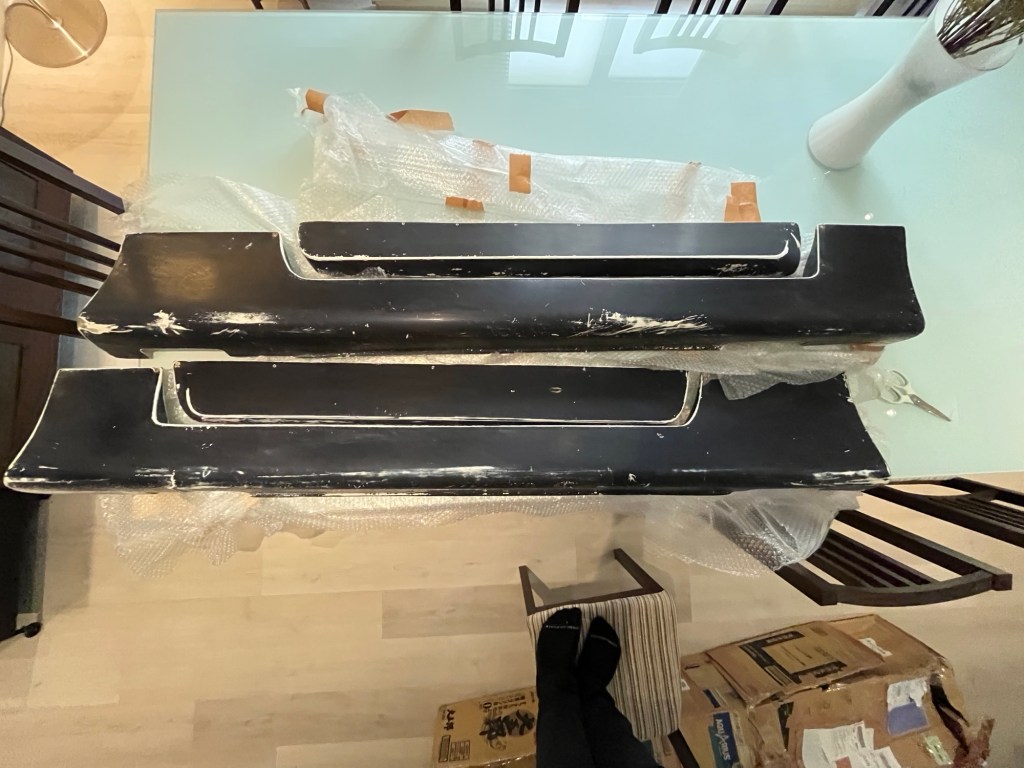
-clean the original moldings and repaint them (since I’d prefer to keep the new ones aside in tell the full repaint)
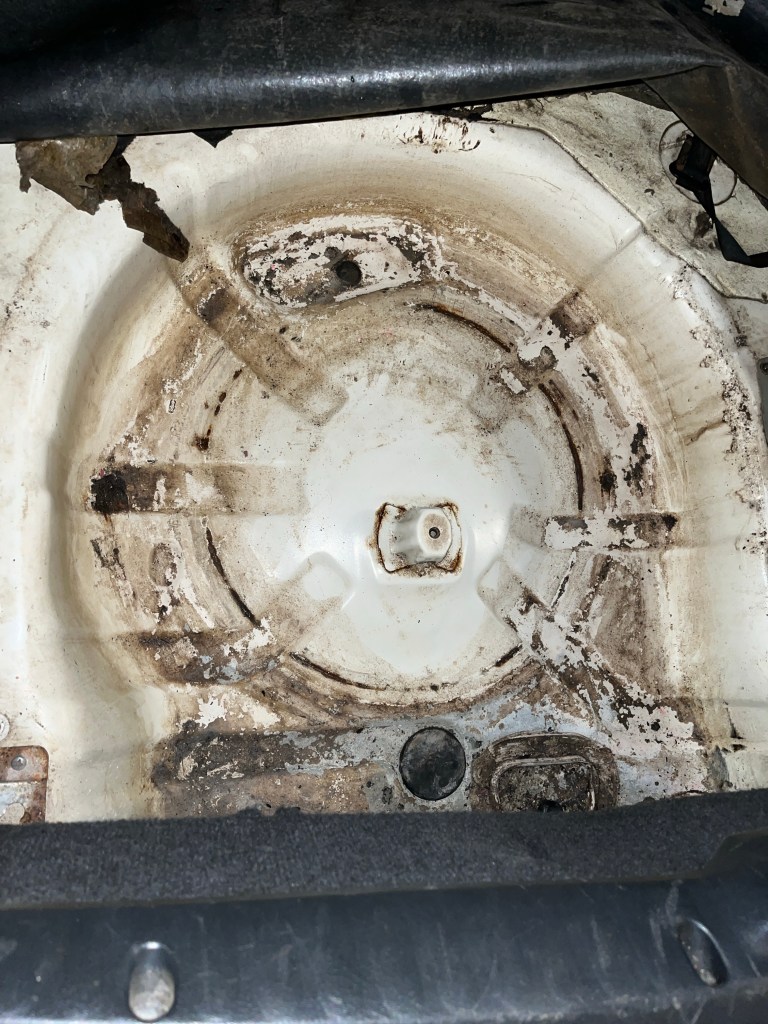
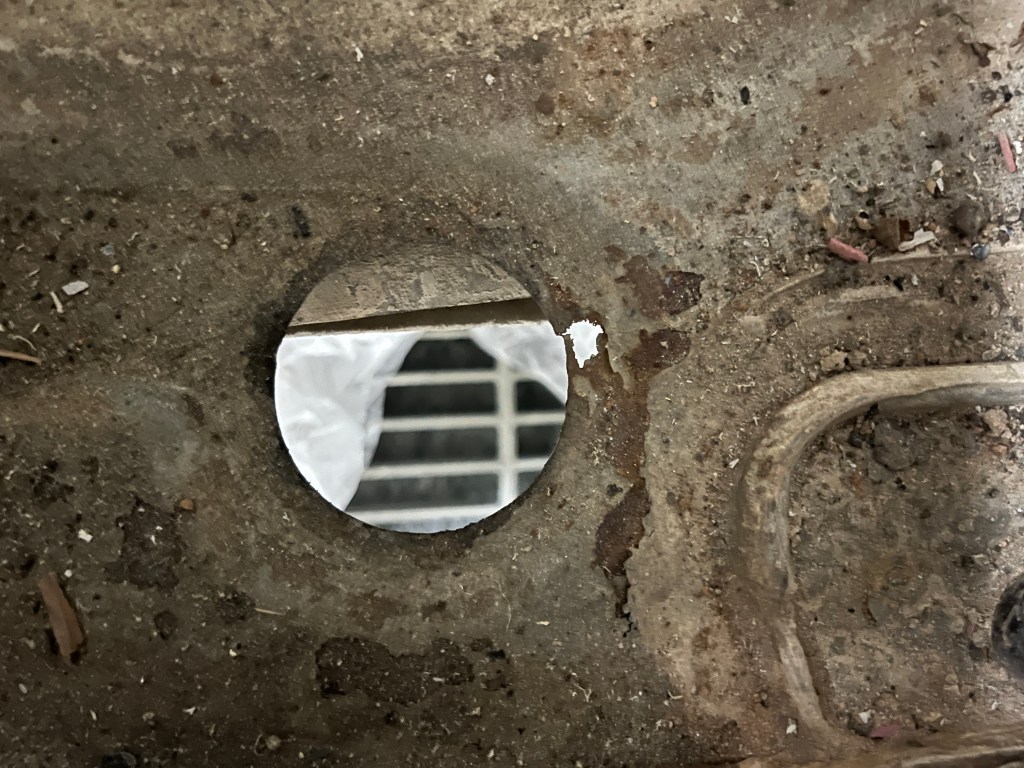
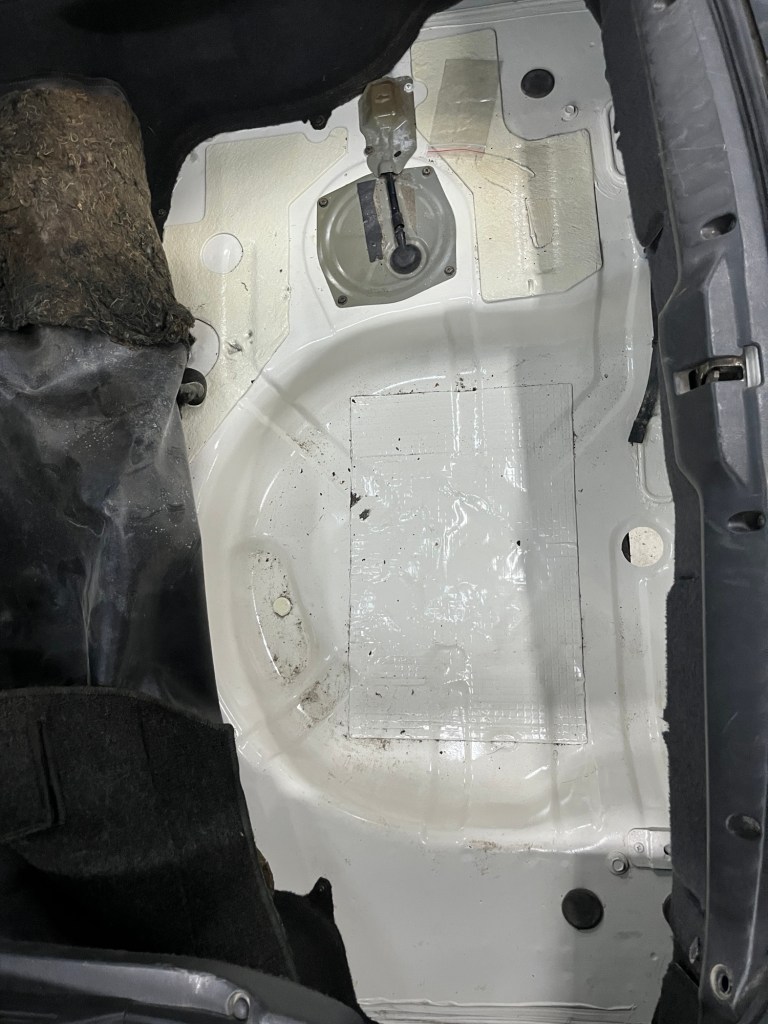
Thankfully my car is mostly rust free (knock on wood) compared to some other s chassis, with it being a California car it seems that it had been well taken care off, so I can’t complain. That being said some moisture will always slip past the gaps and cause rust in some form or another. And in my case it’s similar to many others, the spare tire well… according to my understanding, the rear taillight seals start to fail a few years into these car’s lifespan which causes water to leak into the trunk slowly and fill up the well causing it to rust from the inside out. I first noticed this a year ago after a have rain storm came through and I drove the car later that night and kept hearing water splashing and moving around in the trunk! Only to check and find 1-2 inches of water in trunk floor and a few bits of metal floating around in it lol.
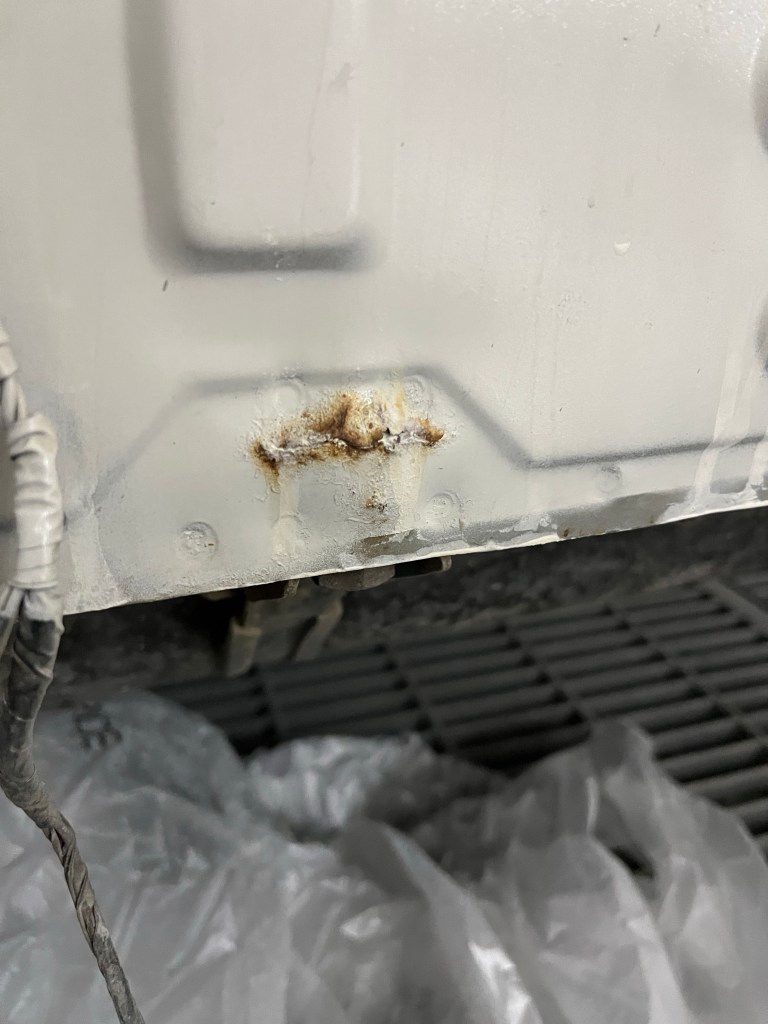
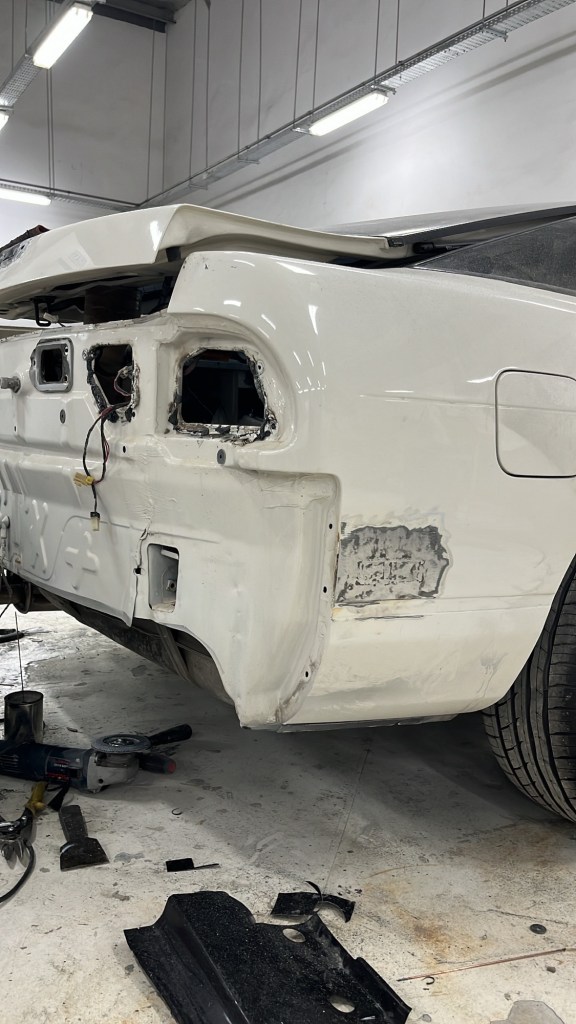
I had known that there was some rust around the rear panel were the gas tank straps bolt in but didn’t know that the rust actually came from within, it was certainly a surprise, a very unwelcomed one.

The car also has had some shipping damage some time when the car was transported from the US to Oman and had something fall on to its roof close to the windshield on the drivers side, and it was not fixed by one of the previous owner in a timely manner causing the dent to rust.
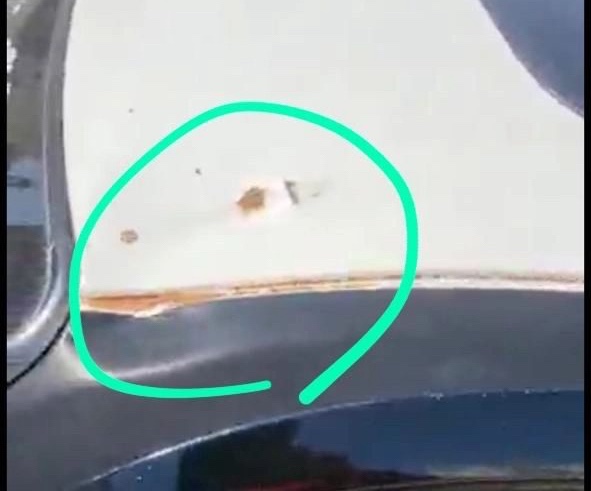
This dent was fixed by the previous owner, who I had bought the car from. But it seems the repair wasn’t as thorough since some rust has started to show around the front windshield molding not too long afterwords.
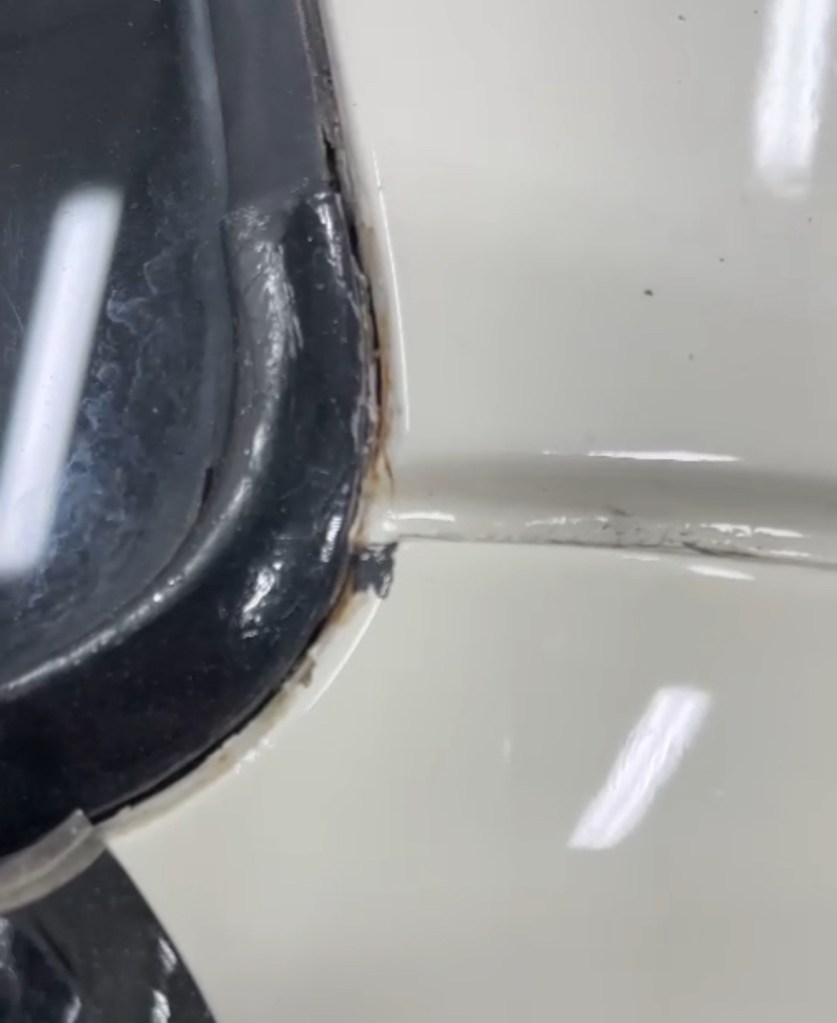
The roof of this car honestly worries me sometimes, it being a sun roof car and seeing some of the rust developing around the windshield leaves me to imagine the worst for whenever I take the headliner off. With the windshield needing to be taken out to do any sort of repair around the roof I decided to delay the repair so that I wouldn’t half ass it, and instead take the interior completely apart- possibly getting all new glass as well-whenever I decide to dive into it, which I hope is sooner rather than later.
There were a few small rusty corners and edges here and there.
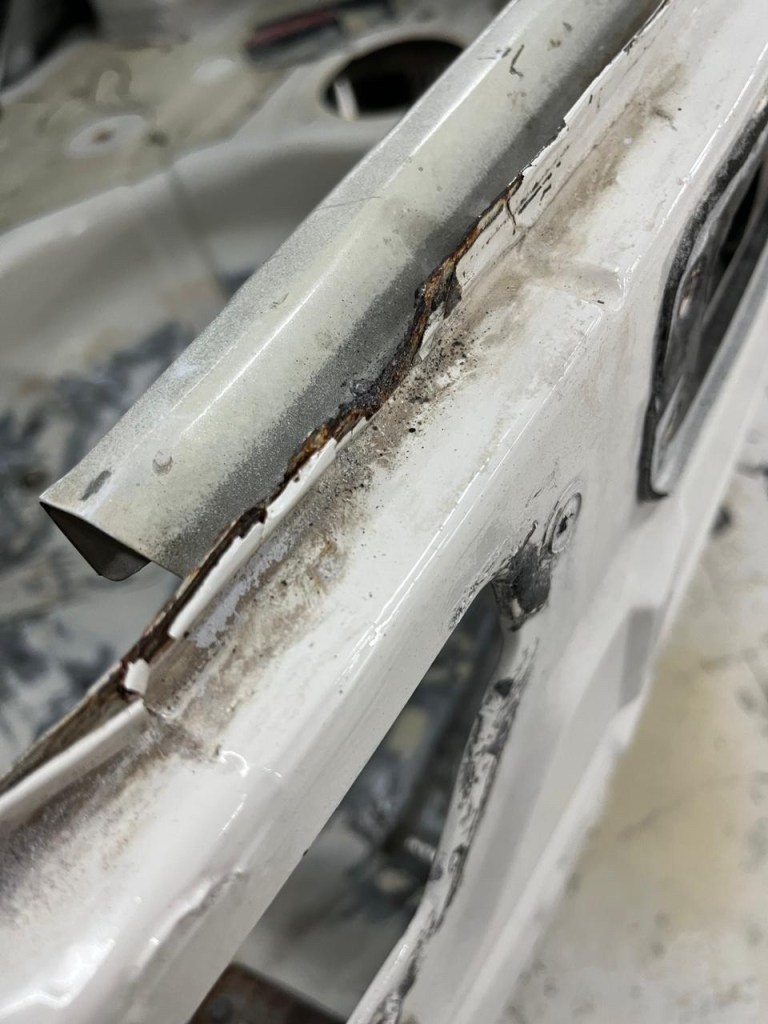
Some were fixed but I’m sure I missed some. Since a full restoration is not really in my current budget. Some things I decided to leave as is so that I could address them at later date whenever I will be able to do things the correct way and make sure that the repairs last another lifetime for this deserving car.
With most of the rust addressed, it’s time to get into the fun stuff!
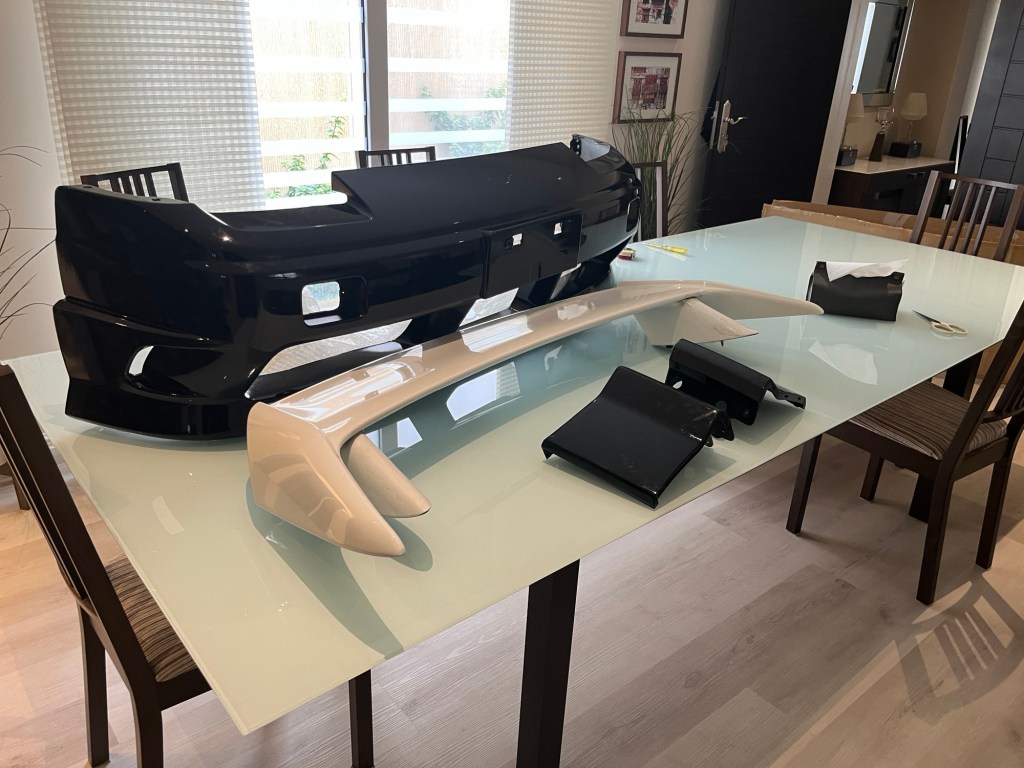
I have probably started collecting aero parts for this car a mouth into owning it, and I’ve kept slowly finding each piece by piece in till I got my hand on every part I needed to make my s13 look like an original Type X, late model (Kouki) 180sx. 90% of the parts are genuine oem Nissan parts. Except for the mirrors, front lip, and rear metal garnish (if anyone has an oem one for sale hmu).
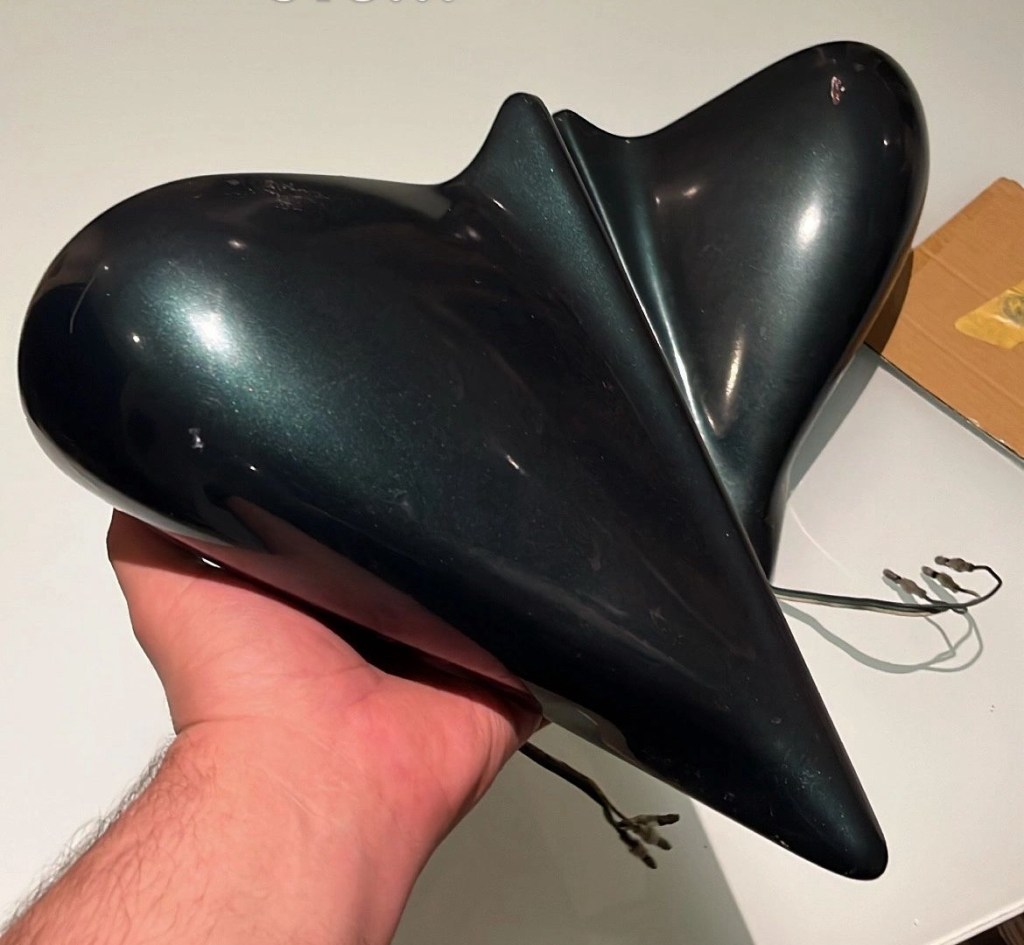
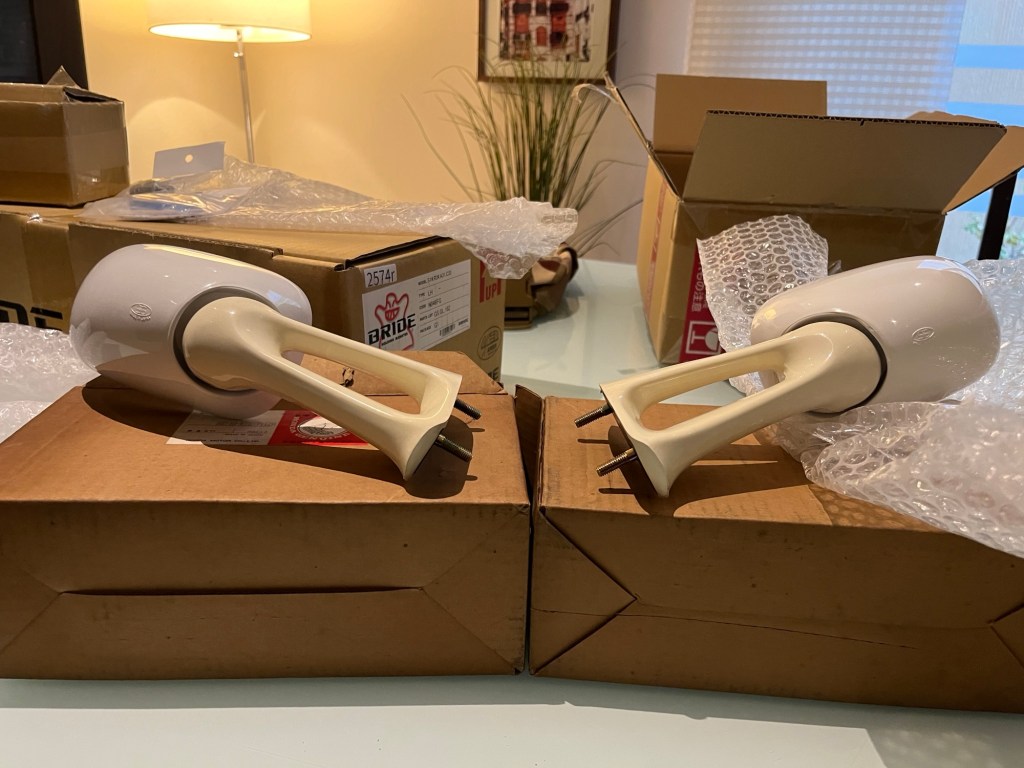
The first aero piece I bought back in 2022 was a set of East Bear aero mirrors. Although Ganadors are way more popular I personally prefer East Bears over them, they simply flow better with the oem aero and body style in my opinion. And seeing them on my favorite 180 was more than enough to make me get them!

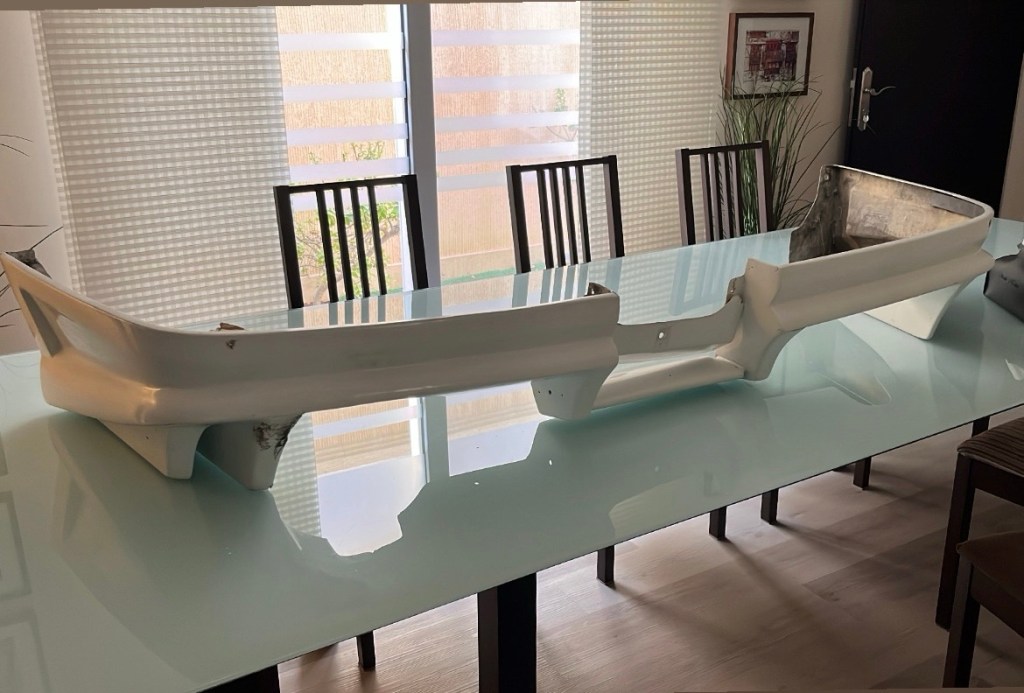
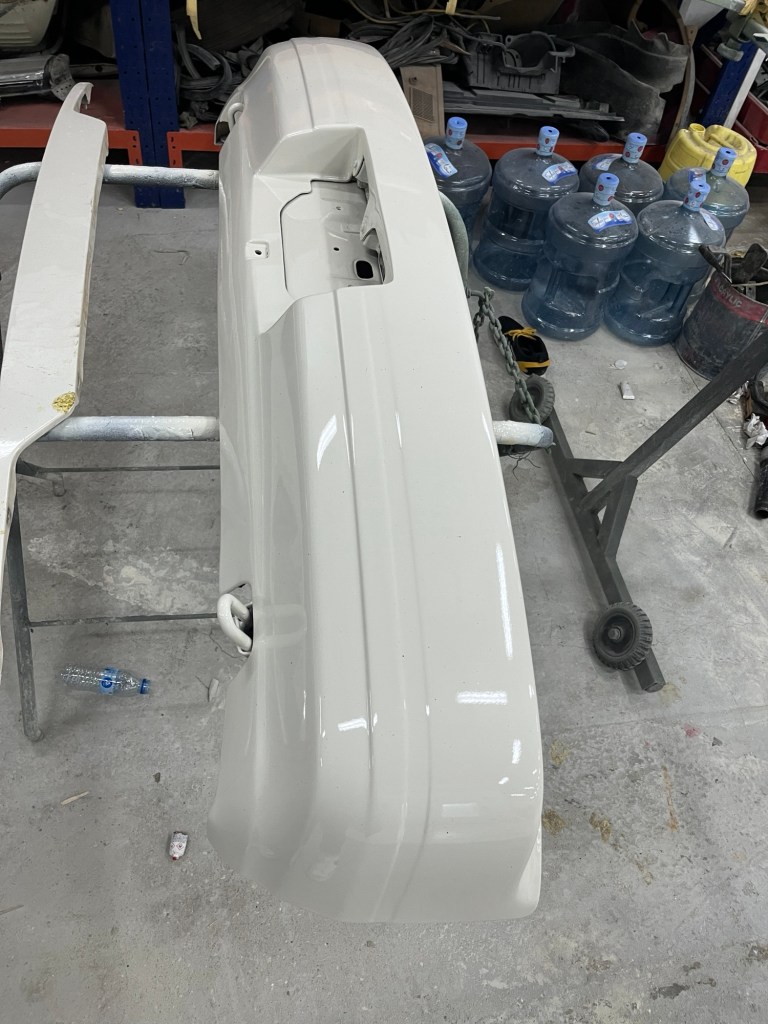
The front bumper I actually bought during my plane ride back from Offset 2023, I was so motivated by the event I knew I had to do all I could to make it to the next one. Hopefully that comes to fruition soon! The rest of the parts I just bought coincidentally as they came up on auction, some pieces weren’t as in good condition as I hoped, and I thought I could save money by buying skirts separately but ended up paying just under the cost of pair on a single skirt lol. The optional valance is very difficult to find for a good price, but I happened to come across one for half what they usually sell for but was missing a few brackets, and had a crack here and there. Oem kouki spoilers are relatively common in Japan and I was able to find one in good condition for a decent price no problem. With that the only part I needed to complete the Type X Kouki look, was the optional front lip. And if you’re familiar with 180sx parts you’ll know that these go for way more money than they should for sure, and it being the first piece of the car that’ll scrap, drag and break. I couldn’t justify paying what they go for. So I went with the second best option which is a Dorkdori replica Type X lip made out of polyurethane. A lot of people recommend and praise this lip on fitment and durability, so far I can definitely agree on the first point. The lip was pretty much perfect right from the box and fits real well. And it should hopefully last and endure all the scraping it’ll experience soon.
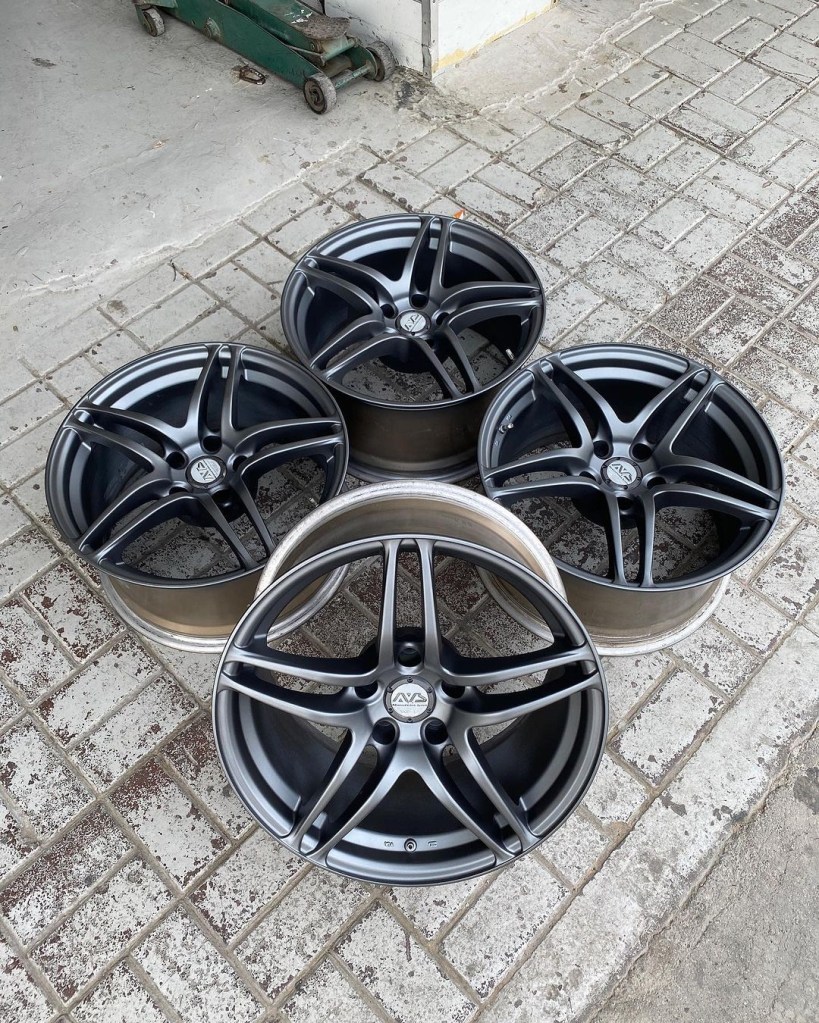
Around the same time I did buy a few aftermarket aero pieces I don’t plan on running during this first iteration of the car, but knew that I’d want to experiment with at some point. I was able to source a set of Ikeya Formula side skirts -a holy grail part for me-, a bomex rear valance, and a pair of CBR400 aero mirrors. All very different parts style wise but can look amazing with the correct setup to complement them. I also came across a set of AVS Model 5s in 17×9+22 for an amazing price that I knew I’d regret not buying. They are the wheels currently on the car and I plan on keeping it on them for a while in till I can paint my double staggered 17/18 Work Cr Kais.
But never mind all that, back to the bodywork portion of this post. Here is the process and pics of every step.
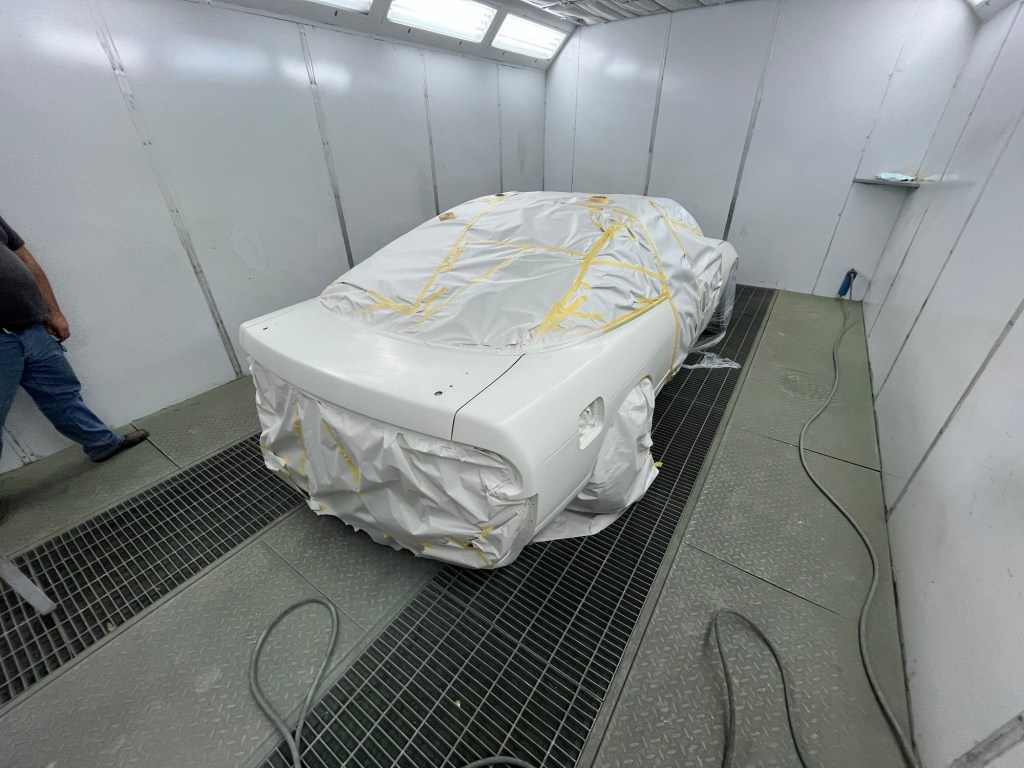
Firstly I decided to shave a few bits that I didn’t like the look of, so that was one of the early things the body shop started with, I had the rear corner markers deleted, which actually don’t come on mid and late model 180s. I also decided to delete the rear wiper, the antenna, and the 3rd brake light. I feel like deleting all of these components make the car much more pleasant to look at and much more sleek. Especially the antenna! After all the patching and welding was done with that we started working on fixing the spare tire well rust, patching up the small spot where rust was starting to form and cleaning any surface rust in the surrounding area.

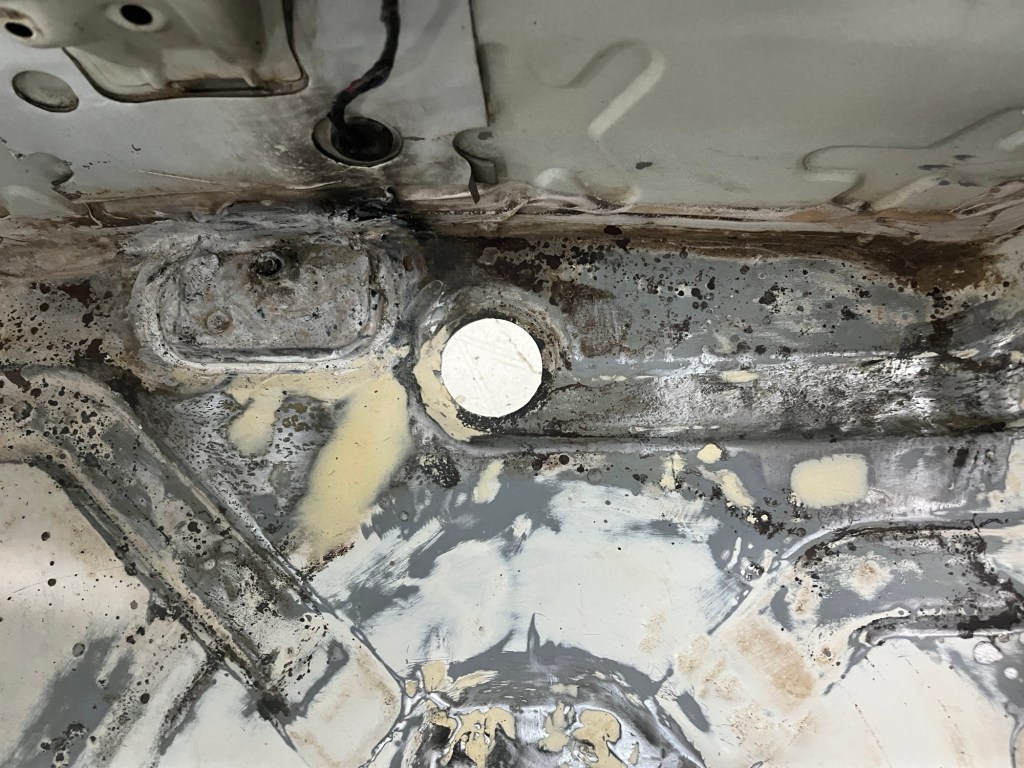
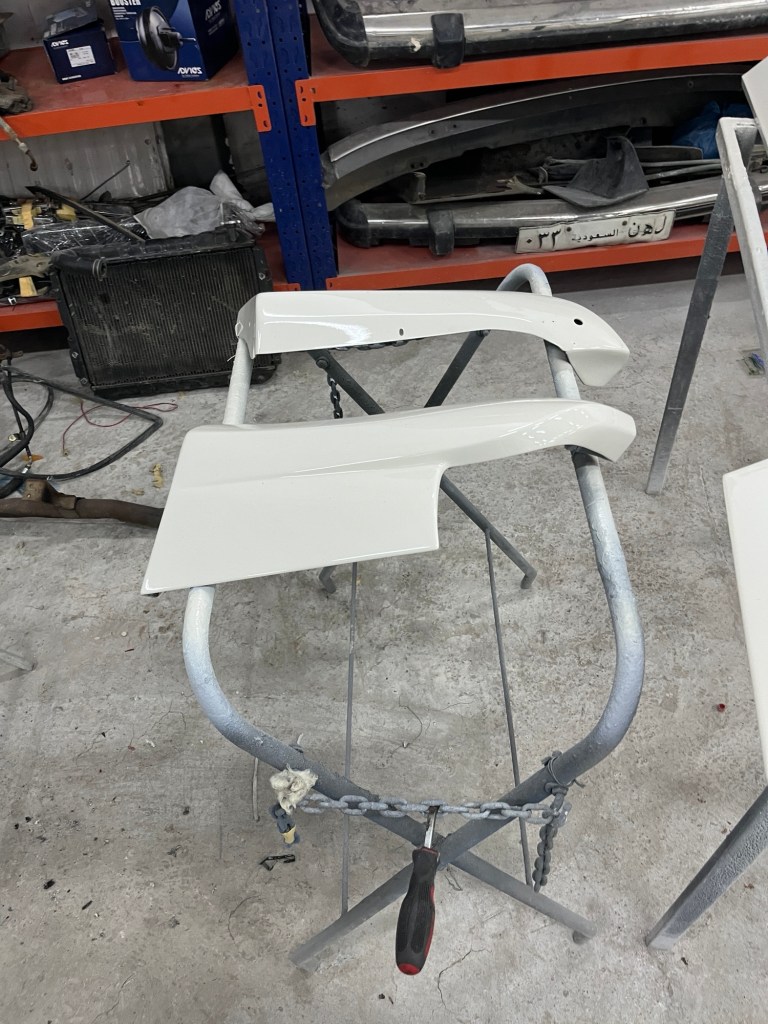
Once the repairs were made, the next step was priming and doing the first coat of paint. The shop did an amazing job paint matching the color on the new parts and I’m very happy with that.
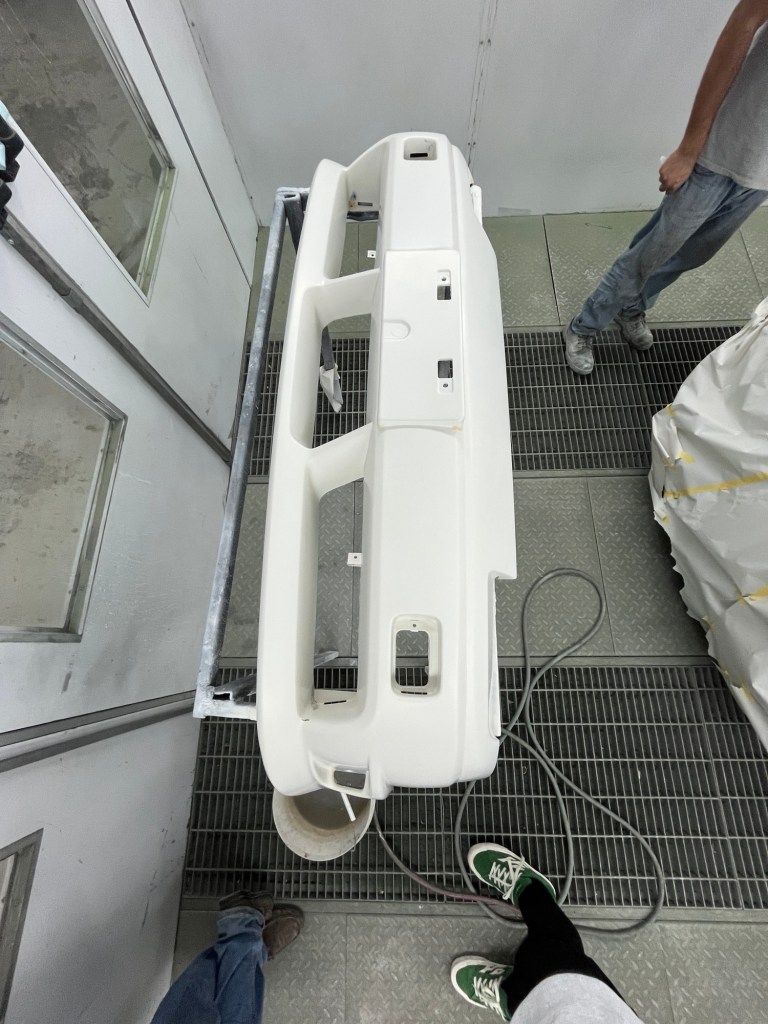
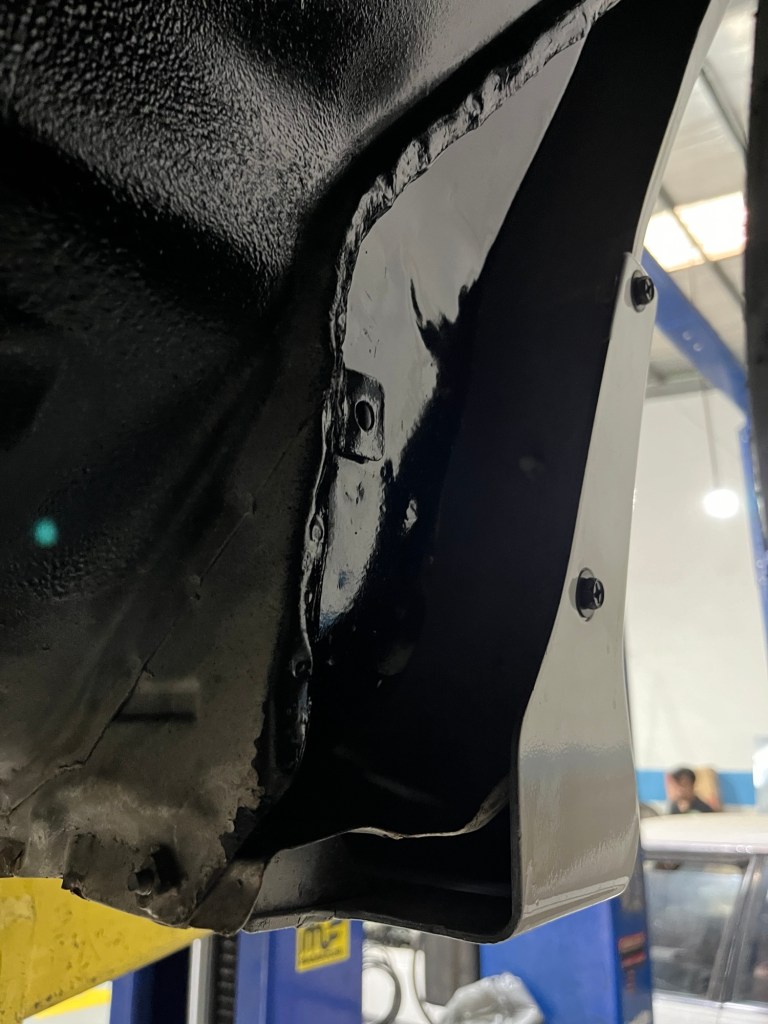
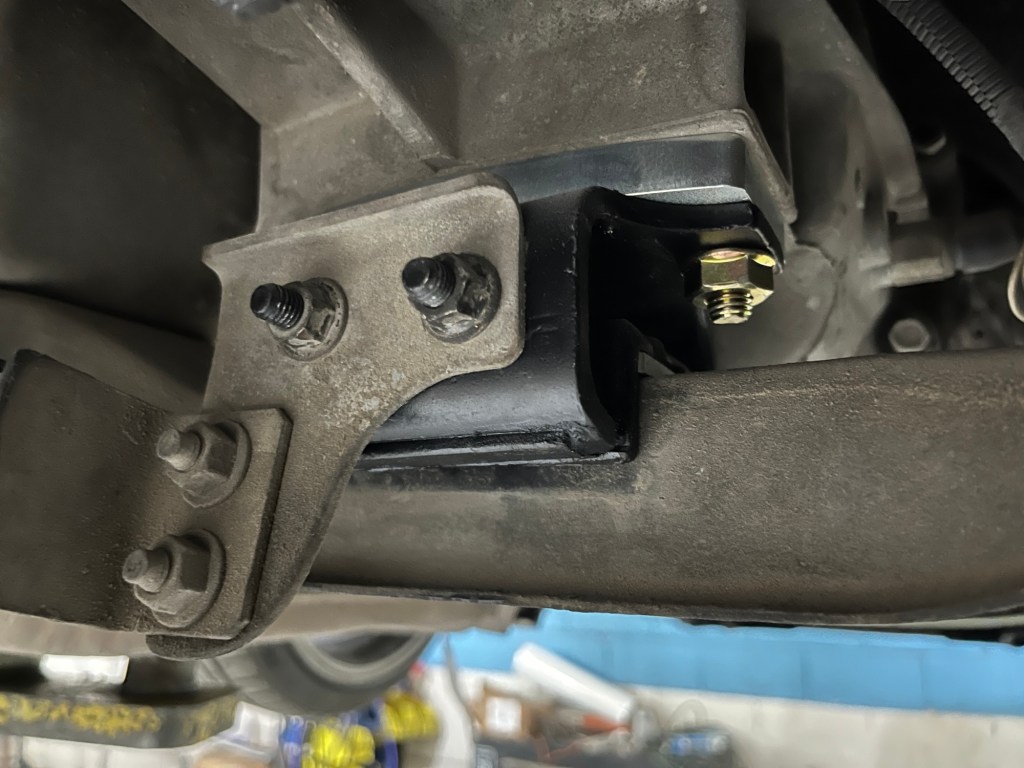
I also had the front fender wells painted black since they are noticeable without the fender liners, and my temporary spray paint wasn’t the best looking. I also got pics of the engine and transmission spacer for any once interested.
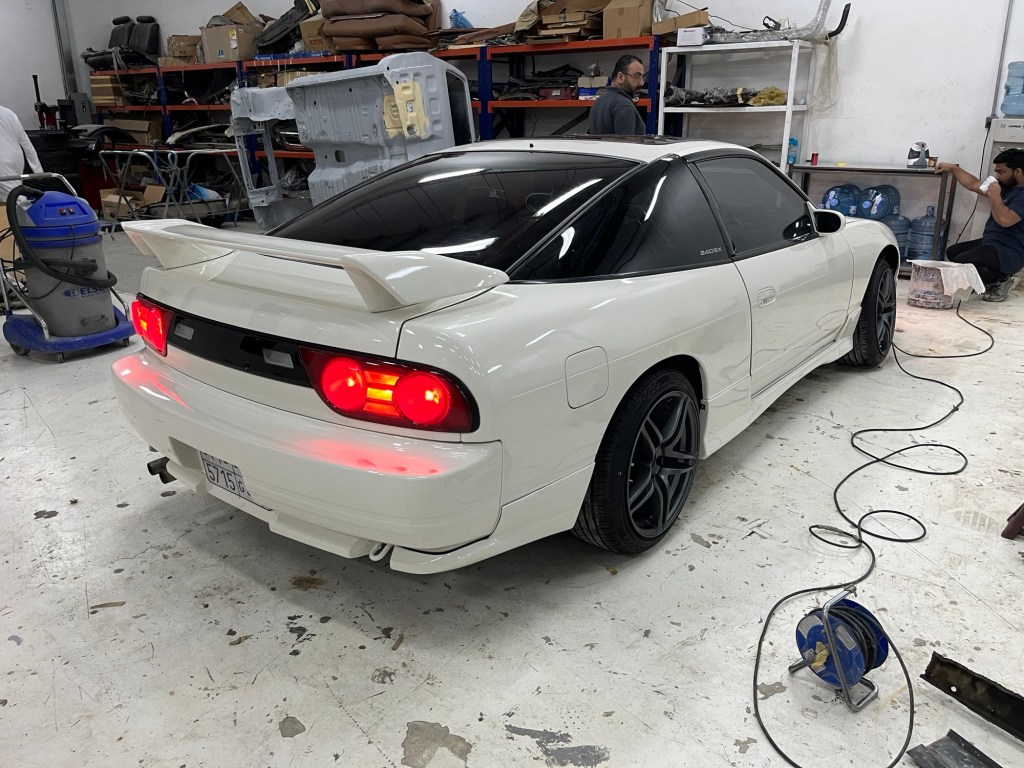
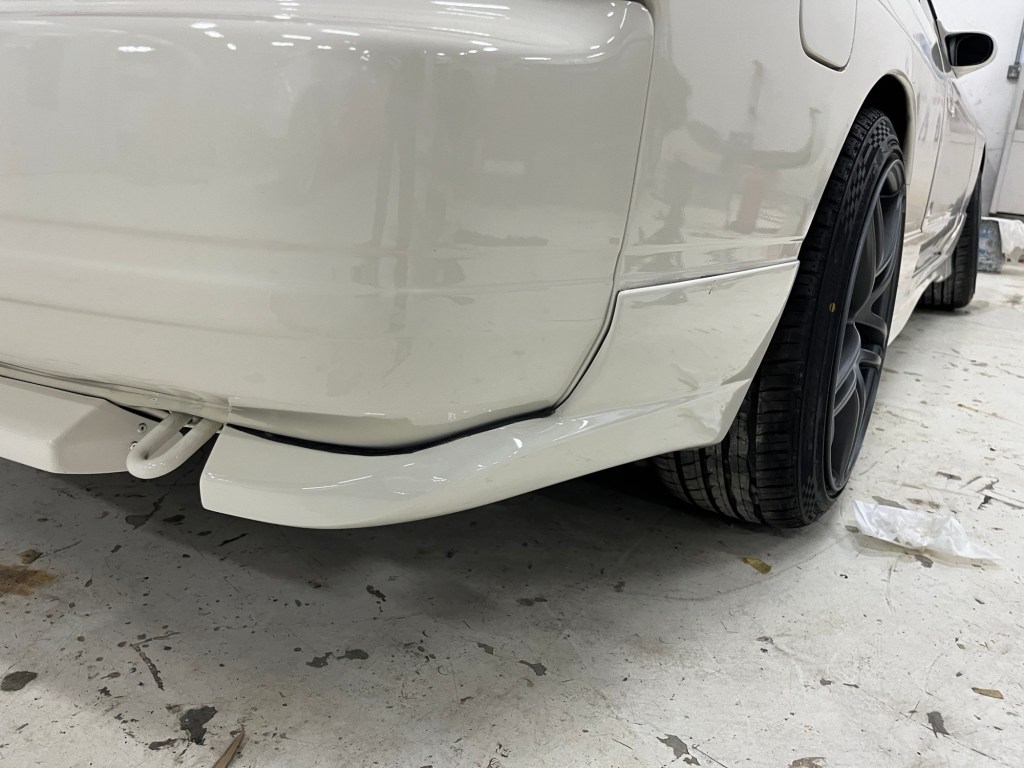
With everything fixed, painted, and fitted… I think the results speak for themselves with this thing! I’m super thankful to the shop and the great work they did.


There are still some imperfections and some rust spots that will have to be addressed at a later date whenever I go through with a full paint job and chassis undercoating, but for now here is the new look (but not the final ride hight!)


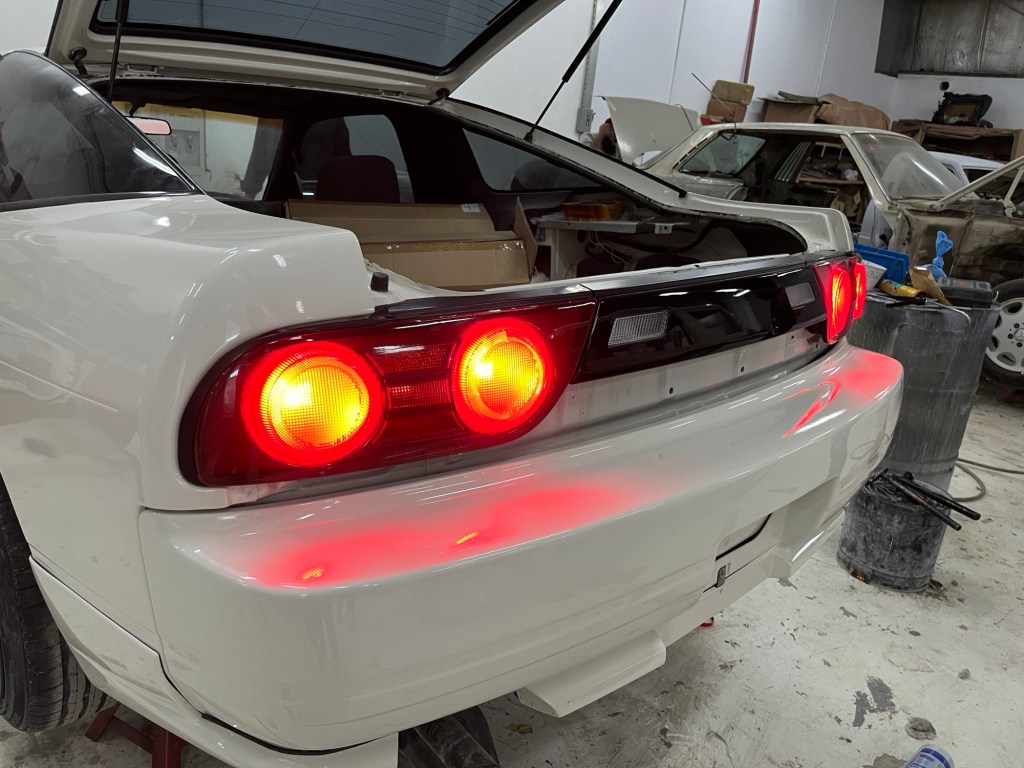
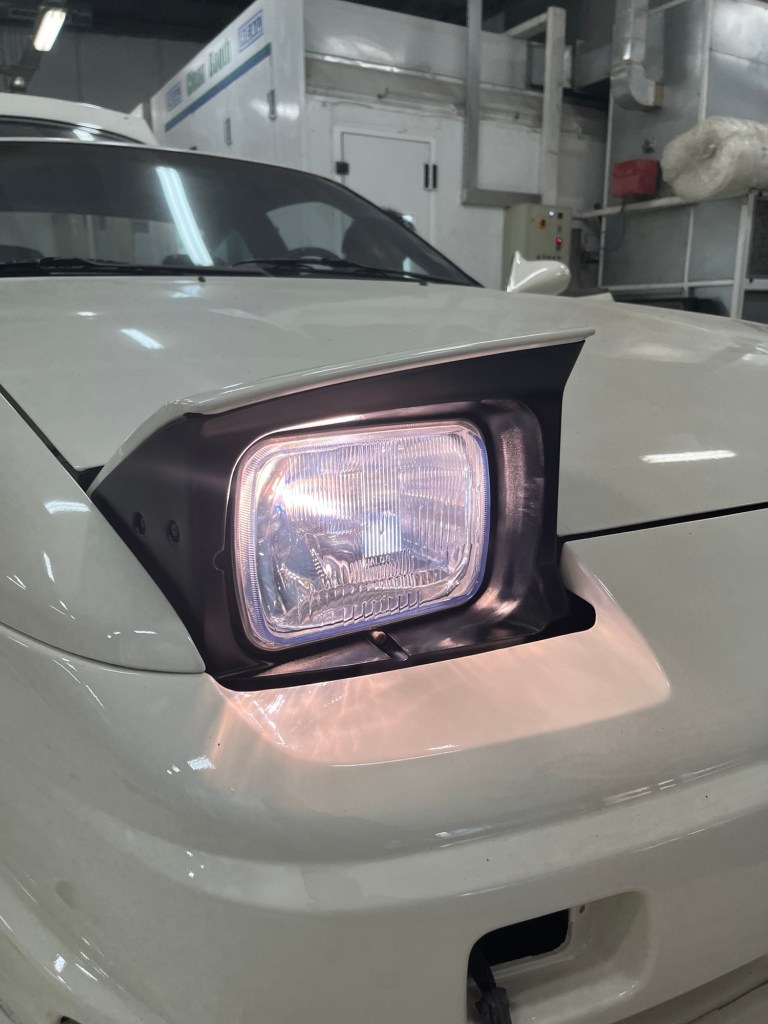
And lastly some brand new kouki taillights and a brand new set of Platinum White Raybrigs were installed, I also decided to go with Dmax dual purpose front position lights paired with some clear side markers, to avoid running any amber lights on the car. Before installing the rear taillights I had them tinted using some red clear film, the effect isn’t too noticeable so I might end up painting them with a thin red coat to hide the amber for the rear turn signals.

The fitment of all the parts is very impressive, the rear valence is the only piece that kinda fits wonky and I’m not sure if that’s due to the damage previously done or the new brackets not being installed 100% at the correct spot. but with a bit more work they’ll hopefully fit a bit better.
One day I had some time and I took all the old dark tint off, I was never a fan of dark tinted glass but I had it done out of necessity, trying to protect myself from the sun during the time I drove it everyday. But since this thing isn’t my daily driver and I’ll mostly be only driving it on colder days I don’t mind not having any tint for now. Especially since I’ll be getting some nice interior parts that would be a shame to cover with any dark tint. But the idea of a light blue tint to match the headlights sounds appealing.


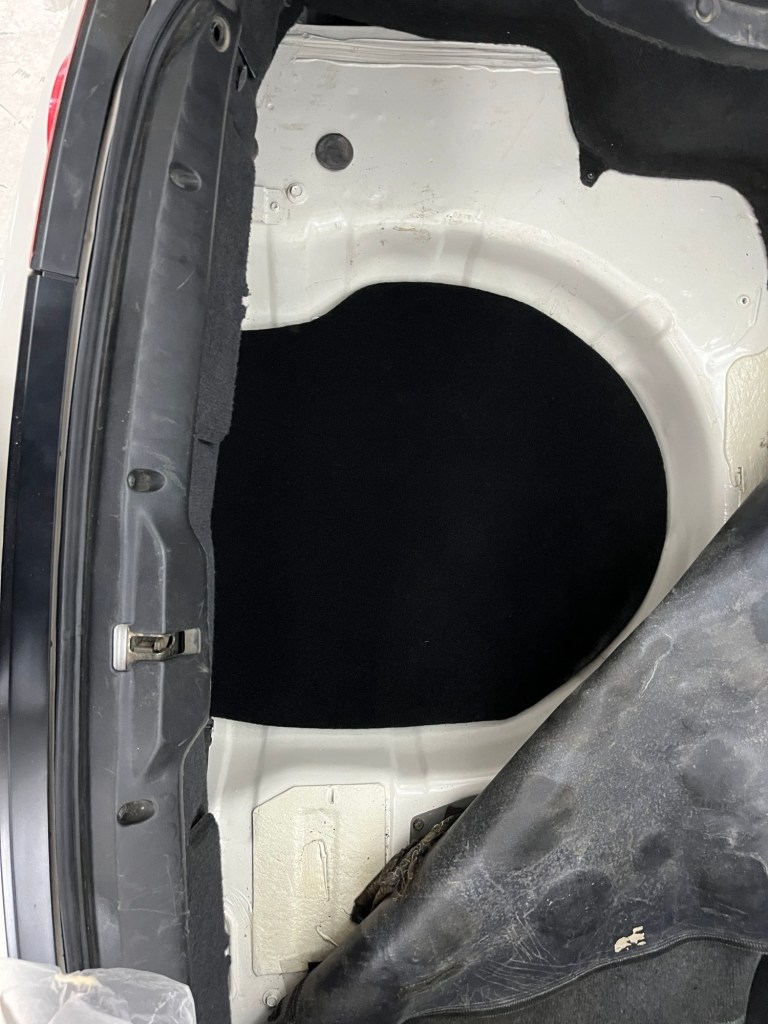
While the car was at the shop being worked on I took the opportunity to get some cardboard and make a template of the spare tire well, which is where I plan on mounting the air cup management and air compressor. Looked pretty good once upholstered with black fabric.
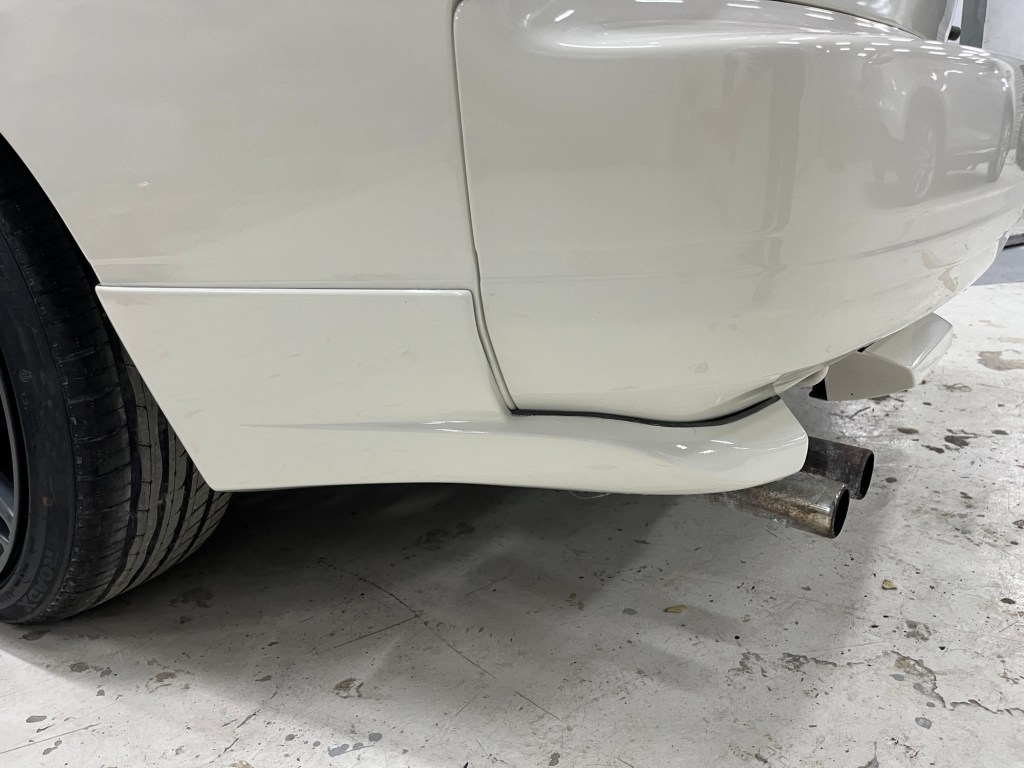
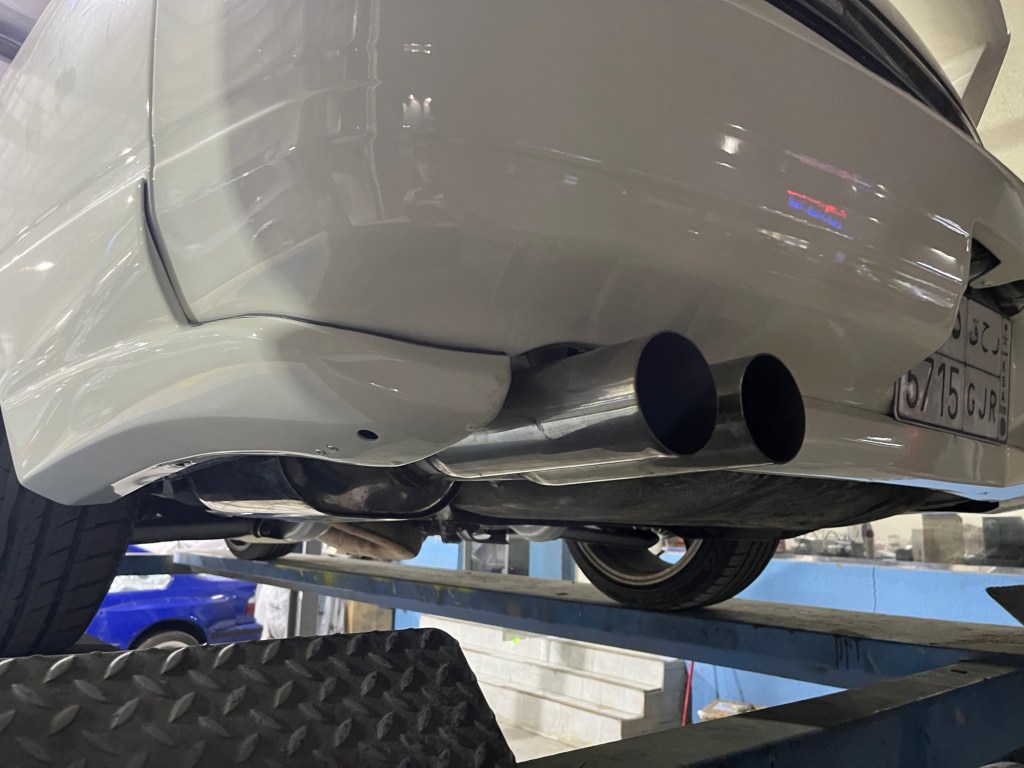
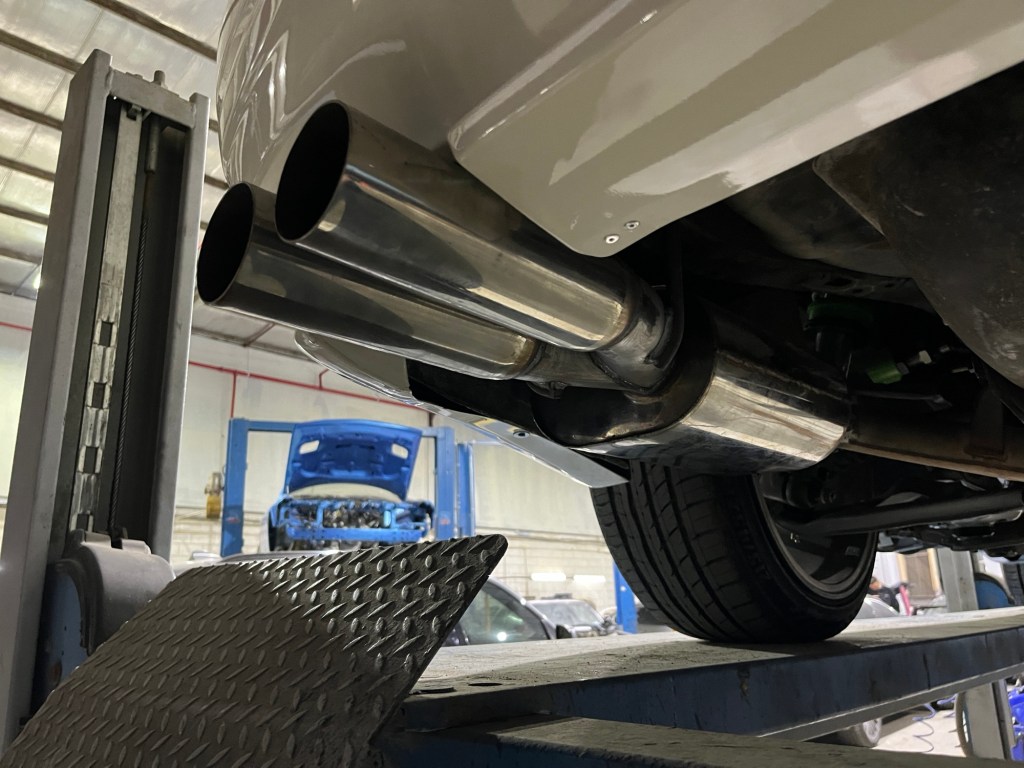
With that 95% of the body work was done, I’ll be taking the car back for a quick buff and a few minor things but next on the list was the exhaust. When I got the car it had a completely stock exhaust, except for a big fart can muffler, which made the car stupid load, thankfully the stock muffler was in the trunk and I went and had it welded back on within a few days. But to say the stock muffler was in bad shape wouldn’t do it justice… it had a whole lot of bad welds and janky repairs and was rusty beyond repair. Since I didn’t mess with the engine and I’m not looking for any extra power I opted to just replace the rear muffler and keep the rest of the exhaust as is just with a quick leak check and had catalytic converter cleaned. I went with the quietest option available with some custom dual 3” tips at an angle and aligned with the rear bumper.
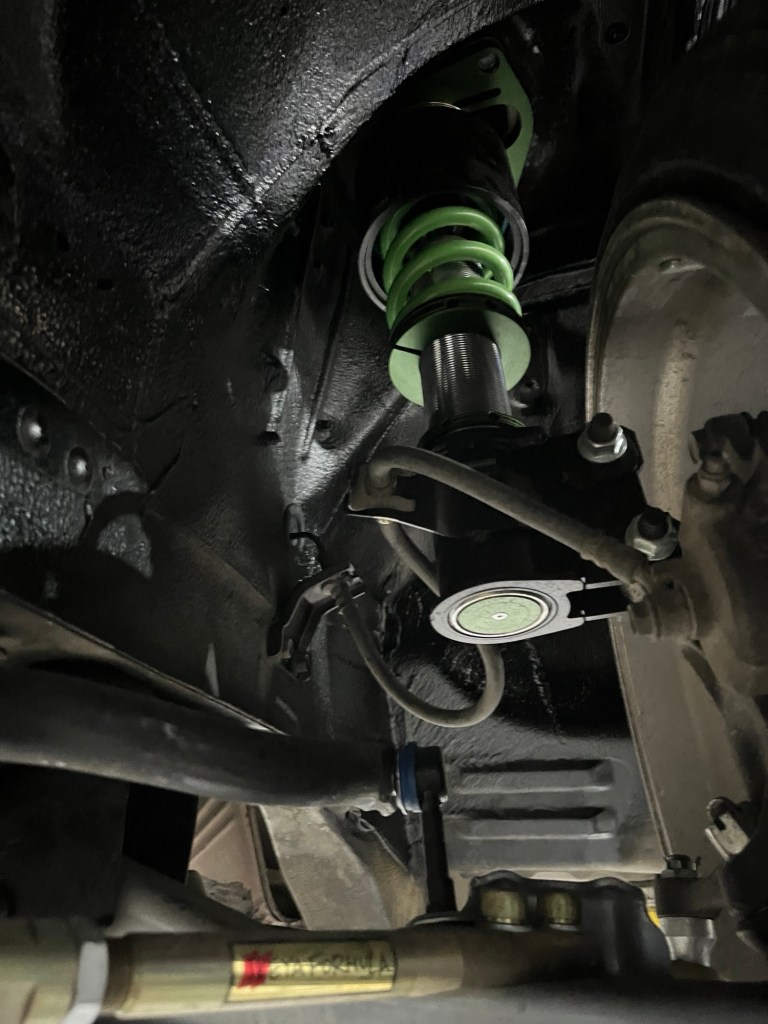
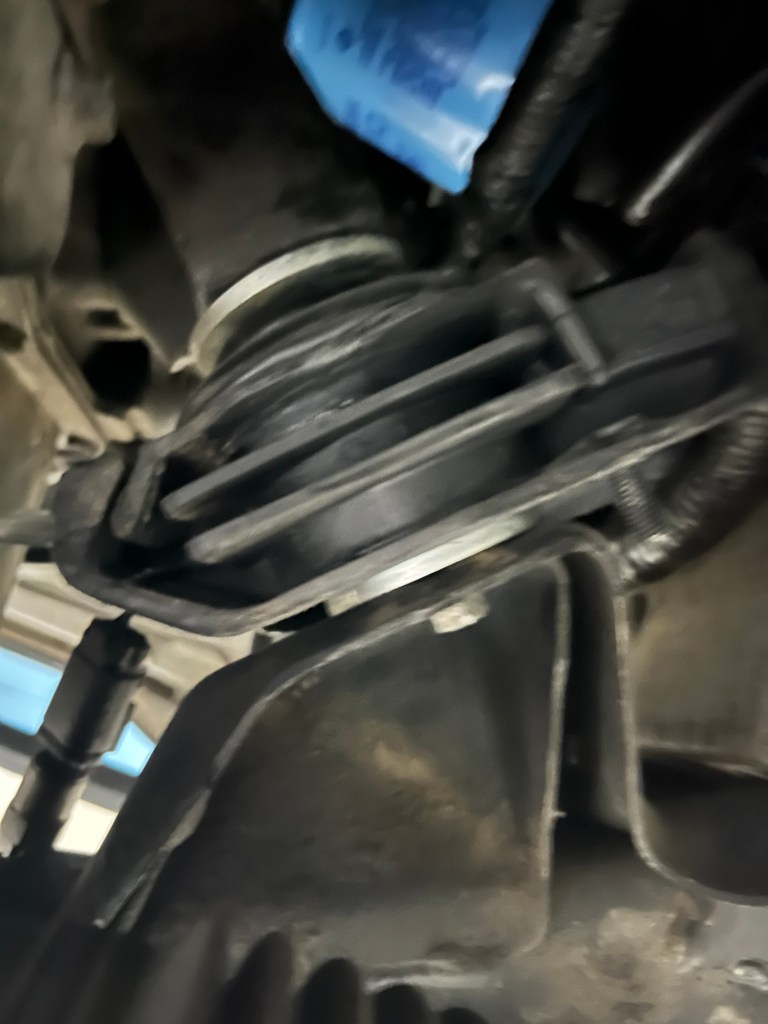
With that, I’m finally fully caught up to the cars progress! It’s literally down to the last few things. Only a few more mechanical issues need to be addressed that I didn’t feel confident doing myself. Starting with the play I seem to have in the diff/output shafts. Seems like the decision to buy an unknown used diff is gonna bite me in the ass after all…
The wiring for the air cups also needs to be ran, I’m not the most electrically savvy guy so I usually avoid any thing that isn’t plug and play in terms of wiring. The steering rack had always leaked since I got the car and I thought now would be a good time to address that with new seals and lines, and lastly a new brake master cylinder was needed and all new brake fluid so might as well do it at the shop because I don’t feel like bleeding brake fluid on my own.
I’m currently writing this on my plane ride to Japan for a 2 week vacation, so progress will probably be a bit jolted in till I get back, but the car only needs like a solid week worth of work to look presentable and then the process of testing and tinkering starts. I’ll be getting my interior parts installed, revisiting the fenders with a hammer and a fender roller, and finally lowering and aligning the car.
This last few months have been very enjoyable but stressful, and I can not wait to finally get to drive this car again. This post was a bit on the longer side, so thank you to however read this far down and I hope to have some nice pics for all of you soon!
-Malek

Leave a comment