Hi there 🙂
This blog is going to be dedicated to my 240’s “build” progress, that I will attempt to update regularly every few weeks.
I’ve been inspired by many before me who had blogs dedicated to their own cars, that documented all the work it takes to build a cool ass car; which lead me to wanting to write my own.
To start off this first one though, I’ll give a quick backstory on the condition the car was in when I first got it, and what I’ve been doing for the last couple of months at home.
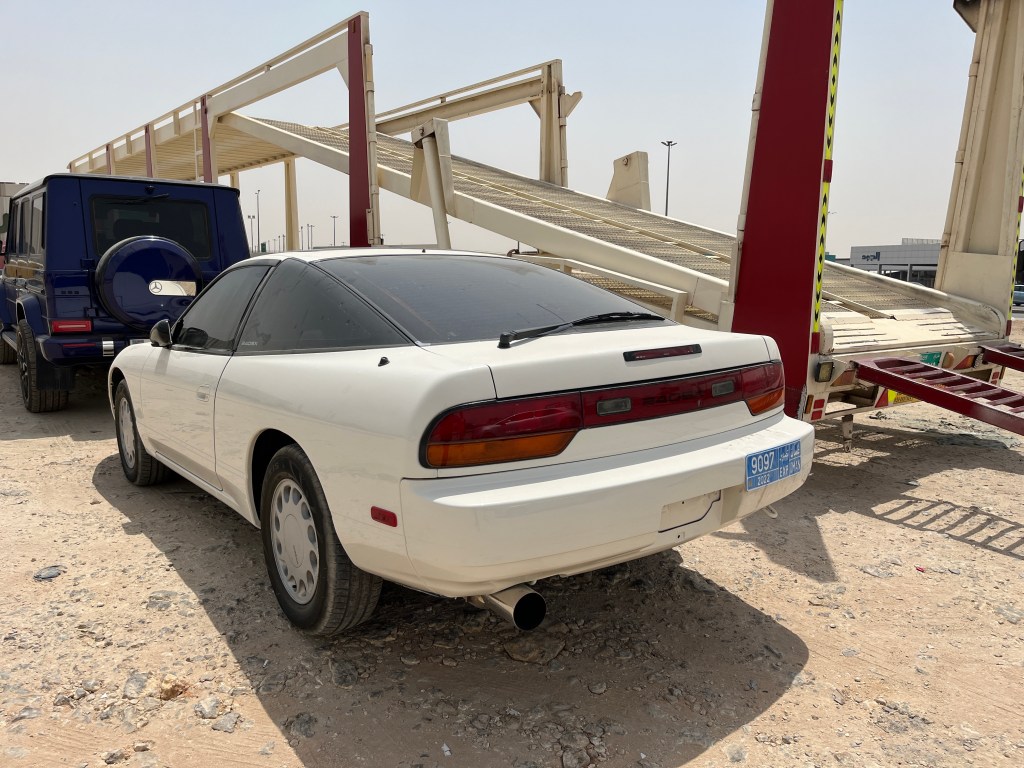
This is my 1990 Nissan 240sx, it was originally sold in the US of A and had lived in California for most of its life. Until it was sold at auction and imported to Oman back in 2015, after that it changed hands a few times with me becoming the latest owner in mid 2022.
Through the years the car was kept pretty much stock, and has only had a few repairs and a paint job done by the time I bought it, and so it still had all the important bits and pieces, and an interior in fairly good condition too.

Registering the car took some time, so I took that opportunity to get a few things fixed/addressed.
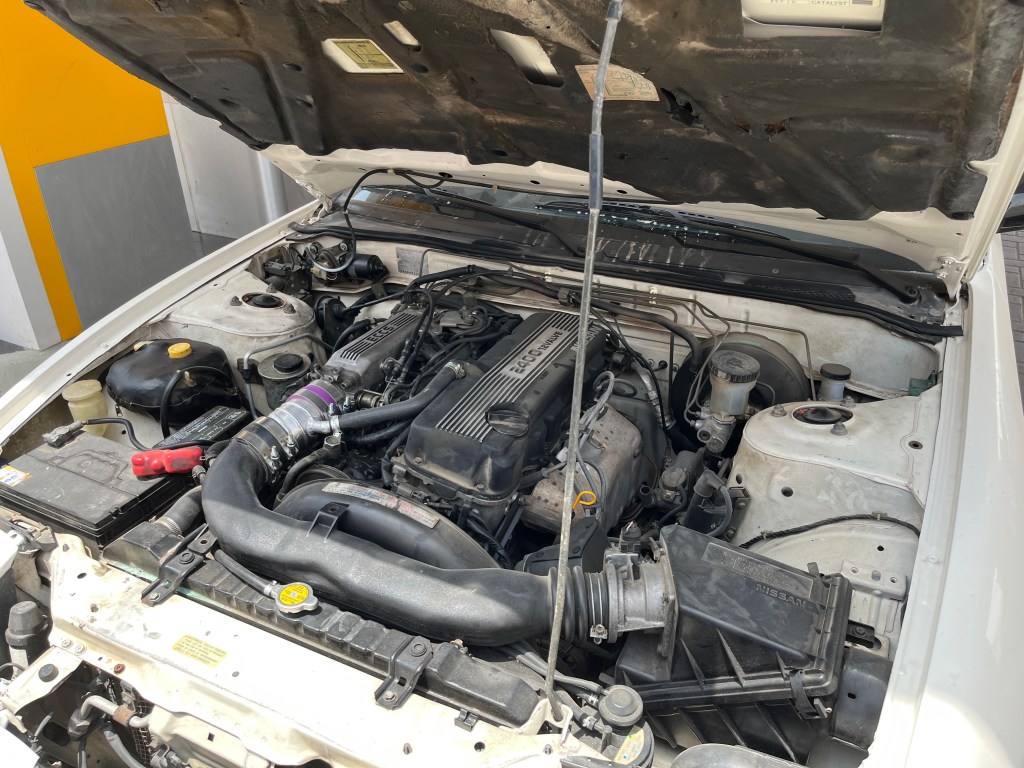
With the first thing being the cooling system of course, the car had unsurprisingly overheated on the very first day driving it here in Saudi. Demonstrating that the cooling system was clearly not cut out for this kind of heat.
This issue was addressed with a new Koyorad dual pass radiator, and a brand new oem fan clutch paired with a gktech high flow fan.
These few mods and some routine maintenance made the car finally suitable to become my daily; since it was the only car I had at the time…

I ended up driving it like that for a year through hot summer days and rainy winter nights with no major issues, the A/C left a bit to be desired but overall… I managed.
During the period of dailying it, I had also started collecting some of the parts I would need to start the “build” piece by piece, while waiting for the right time to start working on it. And earlier this summer I was finally able to get a second car; just so that I could comfortably start taking the 240 apart without worrying.
And that’s exactly what I’ve started doing in the beginning of September this year. With the hope of getting the car, sort of done, by the end of this winter. Doing little by little by my self here in my garage.

My priorities with the car this season, is to get the suspension completely overhauled: with all new bushings, coilovers, arms, and a 5 lug conversion. And then start with some exterior mods, paint/rust repair and all new wether striping, some interior tuning is also on the list.
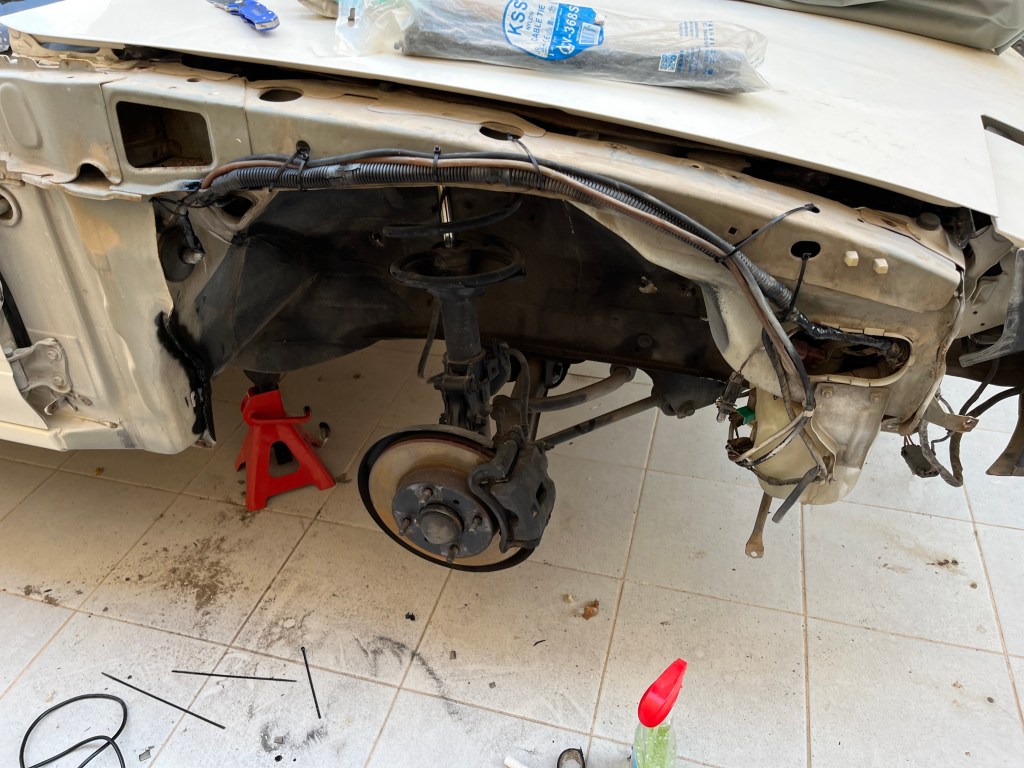
But first things first, I started by jacking up the car and placing it on jack stands, which will be its resting place for the next few months. removing the stock 4 lug wheels for the last time felt good, but I will be keeping the hubs just in case I ever want to switch it up in the future.
Since I plan on running the car pretty low I began with preparing the chassis to clear and have room for the car to preform at the ride height I want to drive at.
This process involves doing a few things:1-hammering the pinch welds in the front wheel wells to give the larger wheels enough clearance to not rub. 2-rolling the front and rear fenders to achieve the type of fitment I’m aiming for. 3-cutting into the chassis to make room for the harness under the fender and away form the wheel well so it that’s safe.

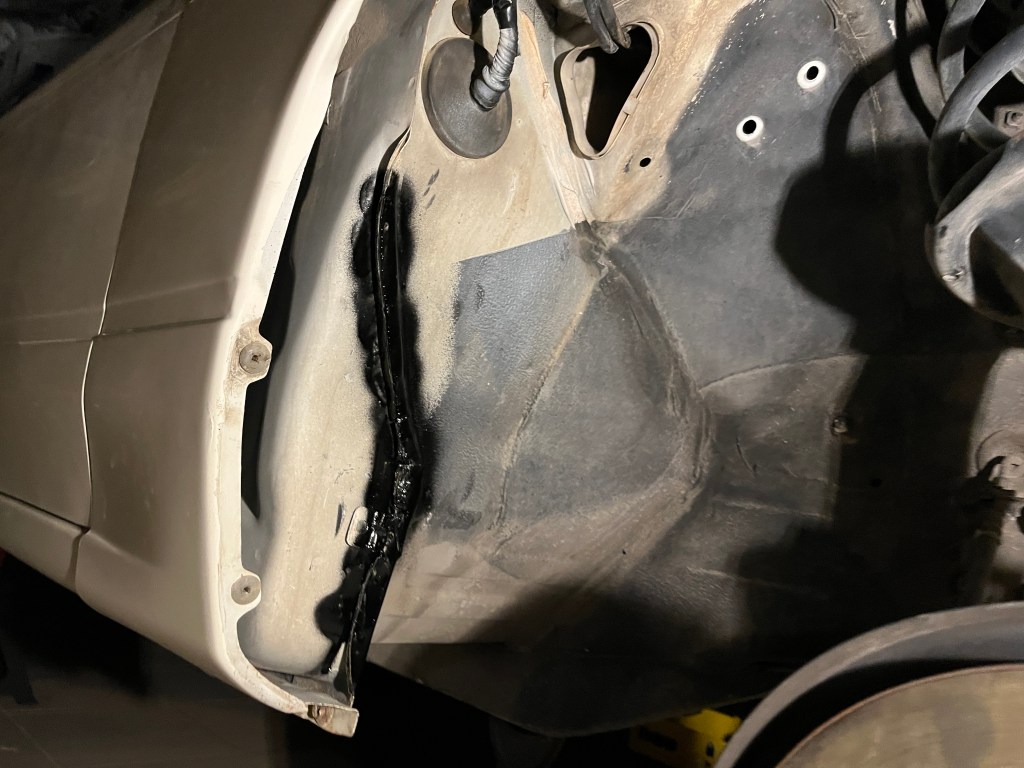
Tucking the harness on each side requires cutting a small slit to get it high enough to clear the wheels, I was able to cut through the metal pretty easily with no issues

The driver side harness is a bit more annoying to deal with, for starters it’s much thicker than the passenger side one, and secondly, the hood release cable also runs on that side, so I had to cut a bit bigger slot, remove the hood release cable and reroute it through the chassis instead.
Fender rolling is a simple but a tad bit tedious task, got it done over a few days whenever I had some time, the rear might require a bit more work but I’ll check and see once the wheels and tires are on the car.
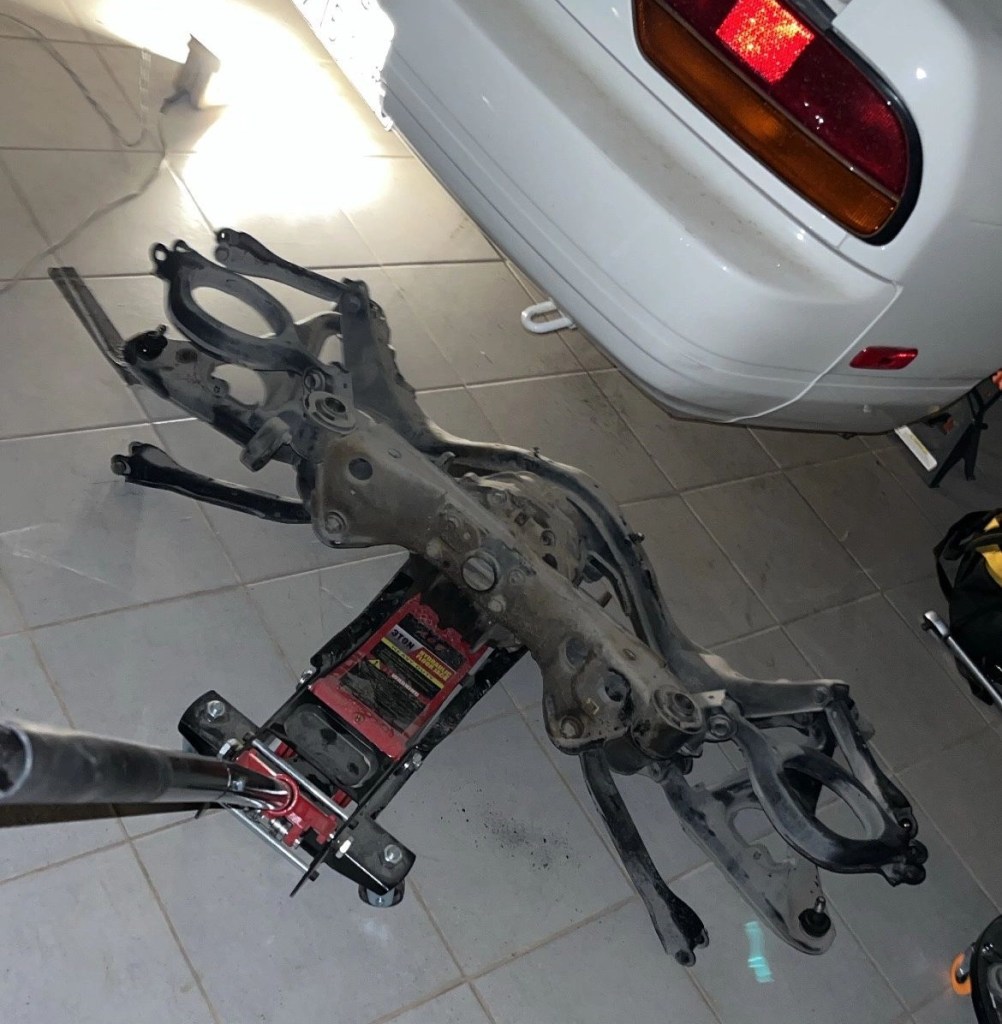
I then began taking the rear subframe and most of the front suspension apart, I plan on replacing all the bushings on the car and some of the control arms, and all of that would be much easier to do outside of the car. Plus the rear subframe bushings need to be replaced and that would have to be done outside of the car anyway.
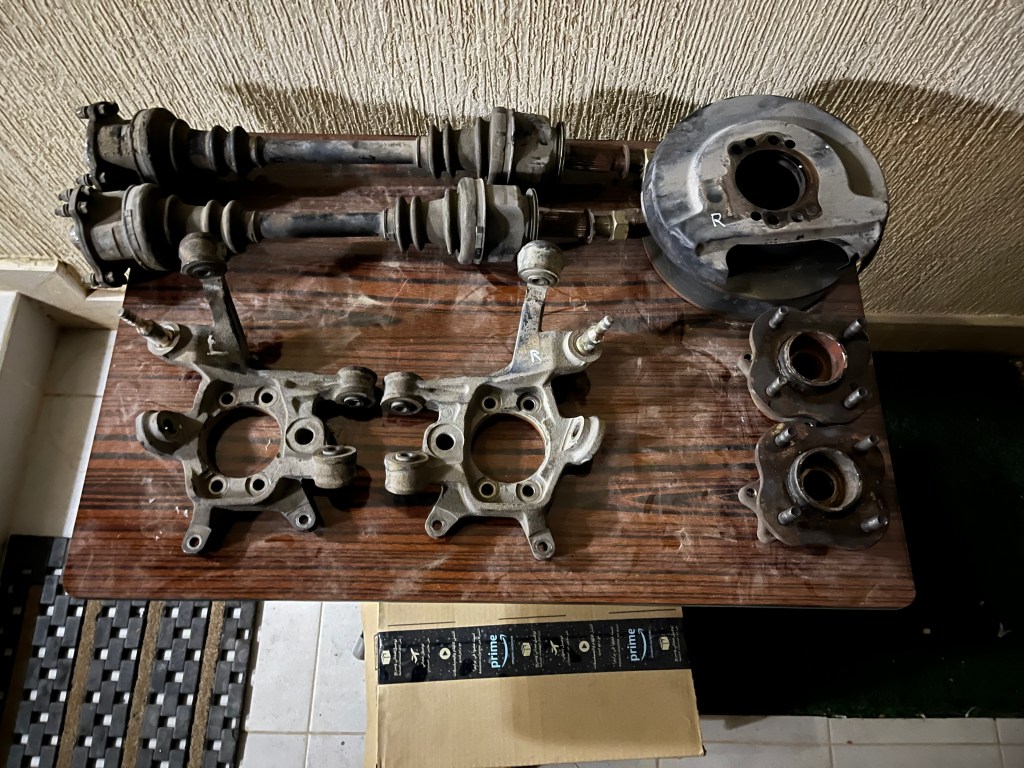
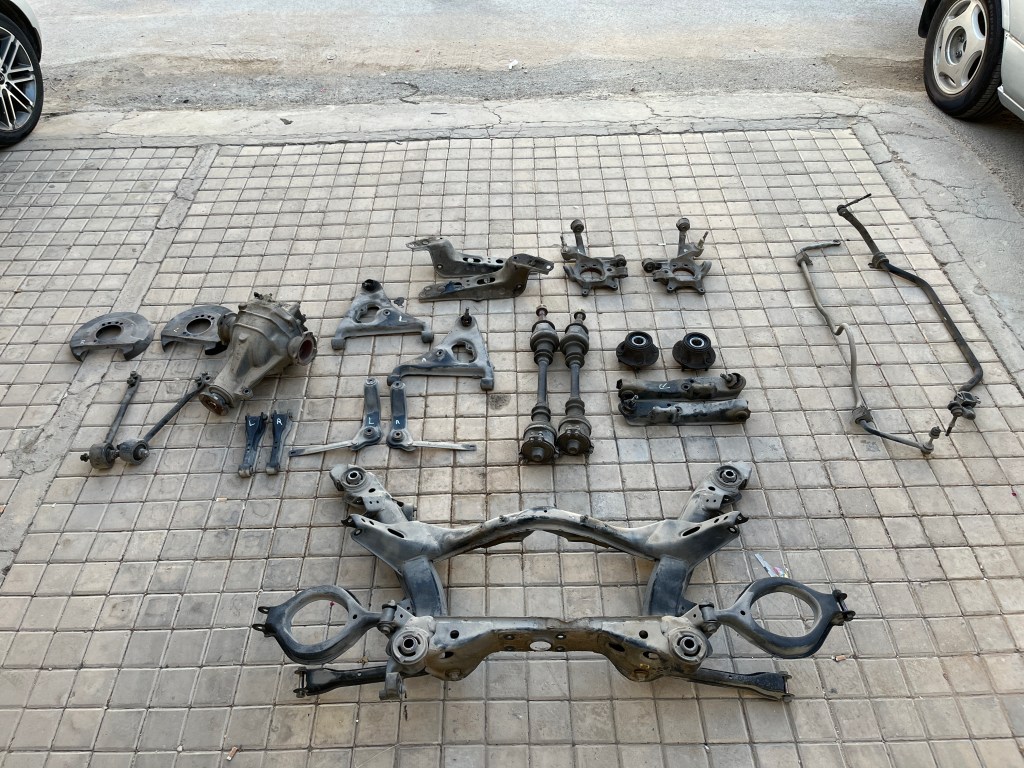
Up in till that point I was planning on cleaning everything up, press in the new bushings and reinstall all the parts back. But after seeing their condition I felt it would be more appropriate to get everything sent out to get powder coat before installing.
So I went ahead with the new plan and powder coated everything silver (inspired by the Nismo arms catalog) and I’m very happy with how they turned out! I also went with Energy Suspension poly bushings on the arms and knuckles, and solid GKtech raisers for the subframe in hopes of keeping wheel hop at a minimum, and correcting the geometry by raising everything up by 15mm.
During all of this I was able to source a used Kaaz 2 way LSD, that unfortunately showed up in worse condition than advertised.

Since I was already invested into this diff, I decided to save it instead of getting a new one (a choice I’m yet to know the consequences of) and so I contacted Kaaz USA who were very helpful with cleaning instructions and providing the correct overhaul kit’s part number.
After sand blasting the exterior of the diff, and help from my friend to clean the inside’s of the case, it was clean enough to get the new clutch disks in and installed into the factory pumpkin.

The time for reassembly is coming soon but I think this is a good spot to wrap up the first post, hopefully by the next post the car will be on the ground and off to the body shop.
Thank you to anyone who read this far! I’m pretty new to writing so I hope this first post isn’t too much of a mess. it shouldn’t be too long in till the next update.
-Malek

Leave a comment